If you've ever abandoned a brilliant craft idea because you couldn't find your favorite glue gun or that specific shade of blue yarn, you know the pain. Getting your craft supplies under control isn't just about a one-time cleanup spree. It's about building a real, sustainable system that stops the cycle of mess before it starts.
The secret? Sort everything by category, purge what you don't use, and assign a dedicated home for every single item using containers that actually fit your space. This approach is what turns creative chaos into a functional, inspiring workspace.
Conquering Craft Chaos Once and For All
 Staring at a mountain of half-finished projects and overflowing bins can feel completely overwhelming, but a truly organized space is closer than you think. This guide is designed to move you beyond temporary tidying. We’re going to build a system that supports your creative process instead of hindering it.
Our goal is to shift your mindset from simply 'cleaning up' to strategically designing a studio where your best ideas can come to life.
Moving from Clutter to Clarity
The journey to an organized craft room isn't just about buying more bins; it’s about being intentional. It starts with truly understanding what you own, why you own it, and how it serves your creative goals. When your space works for you, inspiration just seems to strike more often.
This isn't just a feeling, it has a real impact. The global craft supplies market was valued at around $41.08 billion in 2024 and is still growing. Yet, studies show that over 60% of crafters report spending at least 20% of their crafting time just searching for supplies. An effective organization system can slash that search time by up to 50%, giving you back hours of precious creative energy. You can explore more data on the craft supplies market and its growth.
The Real Cost of a Messy Craft Space
A disorganized area does more than just look messy; it creates friction that can stop a great idea in its tracks. A system where you can find exactly what you need in seconds eliminates that creative roadblock.
Here’s what you gain with a structured approach:
- More Time for Creating: Less time hunting means more time making, painting, or sewing. Simple as that.
- Reduced Stress: A calm, orderly environment fosters a clear mind and quiets the low-grade anxiety that comes with clutter.
- Smarter Spending: When you know what you have, you stop buying duplicate skeins of yarn or another set of paintbrushes you don't actually need.
The ultimate goal isn't just a clean room. It's to create an inspiring environment where your tools are accessible, giving you more time to make things and less time searching for them. This guide will walk you through the core principles to make that happen.
Your Foundation for Order: The Big Sort and Purge
This is where the real work begins, but trust me, it’s also the most satisfying part. You can't organize what you can't see. Trying to create a system without knowing exactly what you own is like trying to bake a cake without knowing your ingredients; it’s just not going to work. The initial goal is simple but non-negotiable: get everything out in the open.
First, designate a large, clear "staging zone." This could be a dining table, a clean patch of floor, or even a couple of folding tables set up in the garage. Now, go on a scavenger hunt. Gather every single craft supply from every corner of your home. Check the closets, peek under the bed, open that forgotten box in the attic, and raid your office drawers. Don't leave a single glue stick or scrap of yarn behind. This all-in approach is the key to getting it right the first time.
Gather and Group Like with Like
With your entire collection laid out before you, the next move is to start making big, logical piles. Don't get bogged down in the tiny details just yet. The goal here is broad categorization, not perfection.
Think in big, intuitive groups. For example:
- All Yarn and Fiber: Every skein, ball, and scrap of yarn. Toss in the roving and embroidery floss, too.
- All Paper Goods: Cardstock, scrapbook paper, vellum, sticker sheets, and notepads all go together.
- All Fabric: Pile up every piece, from tiny fat quarters to large bolts. Felt and interfacing belong here as well.
- All Adhesives: Round up the glue guns, glue sticks, tape runners, and various liquid glues.
- All Paints and Brushes: Bring together your acrylics, watercolors, oils, and all the brushes and palettes that go with them.
- All Beads and Jewelry Findings: Every container of beads, wire, clasps, and charms gets its own pile.
This step alone is an absolute eye-opener. You might be shocked to discover you own five hot glue guns or enough green yarn to outfit a small army in knitted sweaters. Seeing it all together provides the brutal clarity you need for what comes next: the purge.
The Art of the Thoughtful Purge
Alright, with your supplies sorted into their families, it's time to make some tough decisions. This isn’t about mindlessly tossing things out; it's about curating a collection of supplies that you genuinely love and will actually use. Tackle one category at a time to keep from feeling overwhelmed. Pick up your yarn pile, for instance, and evaluate each and every skein.
Ask yourself these critical questions to guide your choices:
- Have I used this in the last year? If not, do you have a specific, planned project for it in the next six months? "Someday" doesn't count.
- Is this item still in good condition? That dried-up paint tube or brittle, yellowed paper isn't serving your creativity. It’s okay to let it go.
- Do I enjoy using this supply? Maybe you bought a fancy set of oil pastels but discovered you hate the messy texture. Don't feel guilty; your tastes evolve. Pass it on to someone who will adore it.
- Do I have duplicates I don’t need? That fifth pair of fabric scissors or third paper trimmer is just taking up precious real estate. Keep your favorite and find a new home for the rest.
As you work, create three distinct piles for each category: Keep, Donate, and Discard. Be ruthless but honest. The goal is to build a craft stash that inspires action, not one that weighs you down with clutter and guilt.
Focusing on one group at a time makes the whole process feel lighter and far more manageable. It's the secret to avoiding the paralysis that so often derails big organization projects. By the end, you'll be left with a curated collection of materials that truly reflects who you are as a crafter today, making every following step of organizing a whole lot easier.
Designing Your Creative Workspace with Zones
You’ve done the hard work of sorting and purging, and now you’re left with the craft supplies you actually love and use. This is where the fun begins. It's time to design a physical space that doesn't just hold your materials but actually makes your creative process smoother and more enjoyable. The secret? A concept professional organizers swear by: dedicated craft zones.
Think about how a well-run kitchen is set up. You wouldn’t keep your mixing bowls across the room from the flour and sugar; you’d create a baking station where everything is within arm’s reach. We’re going to apply that same intuitive logic to your creative space, mapping out a layout that works for you.
Mapping Your Workflow with Craft Zones
A craft zone is simply a designated area for a specific activity. When you group related tools and materials, you create little micro-environments that streamline your projects. You’ll spend less time hunting for things and more time in that creative flow state we all chase.
First, identify your main crafting activities. Do you spend most of your time sewing? Painting? Paper crafting? These core hobbies deserve the prime real estate in your room.
Common craft zones might look something like this:
- A Cutting and Prep Station: This is home base for your cutting mats, rotary cutters, scissors, paper trimmers, and rulers. It needs a large, clear surface.
- A Sewing Nook: Your sewing machine, threads, bobbins, pins, and fabric scraps should all live together here, ideally near a good light source.
- A Painting or 'Wet' Area: Group your paints, brushes, palettes, canvases, and easels. It’s smart to put this zone on an easy-to-clean floor, far away from delicate materials like paper or fabric.
- A Digital Design Corner: If you use a Cricut, Silhouette, or computer for design work, set up a dedicated tech hub for these tools and all their accessories.
By building your layout around these activities, you create an intuitive flow that follows your natural movements from one task to the next.
This flowchart shows why that initial sorting process is so critical before you can even think about creating zones.
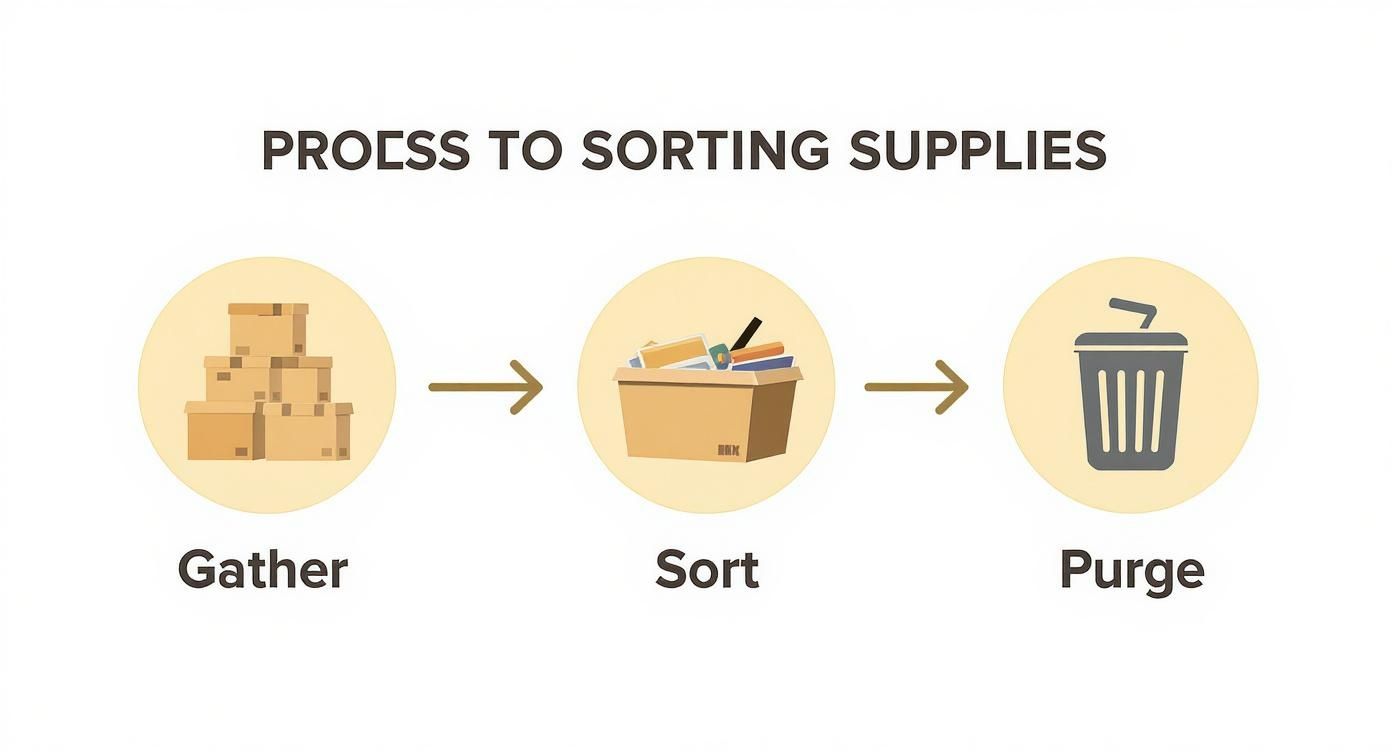
As you can see, a successful system always starts with gathering, sorting, and purging. Only then can you move on to the fun part of choosing containers and organizing your space.
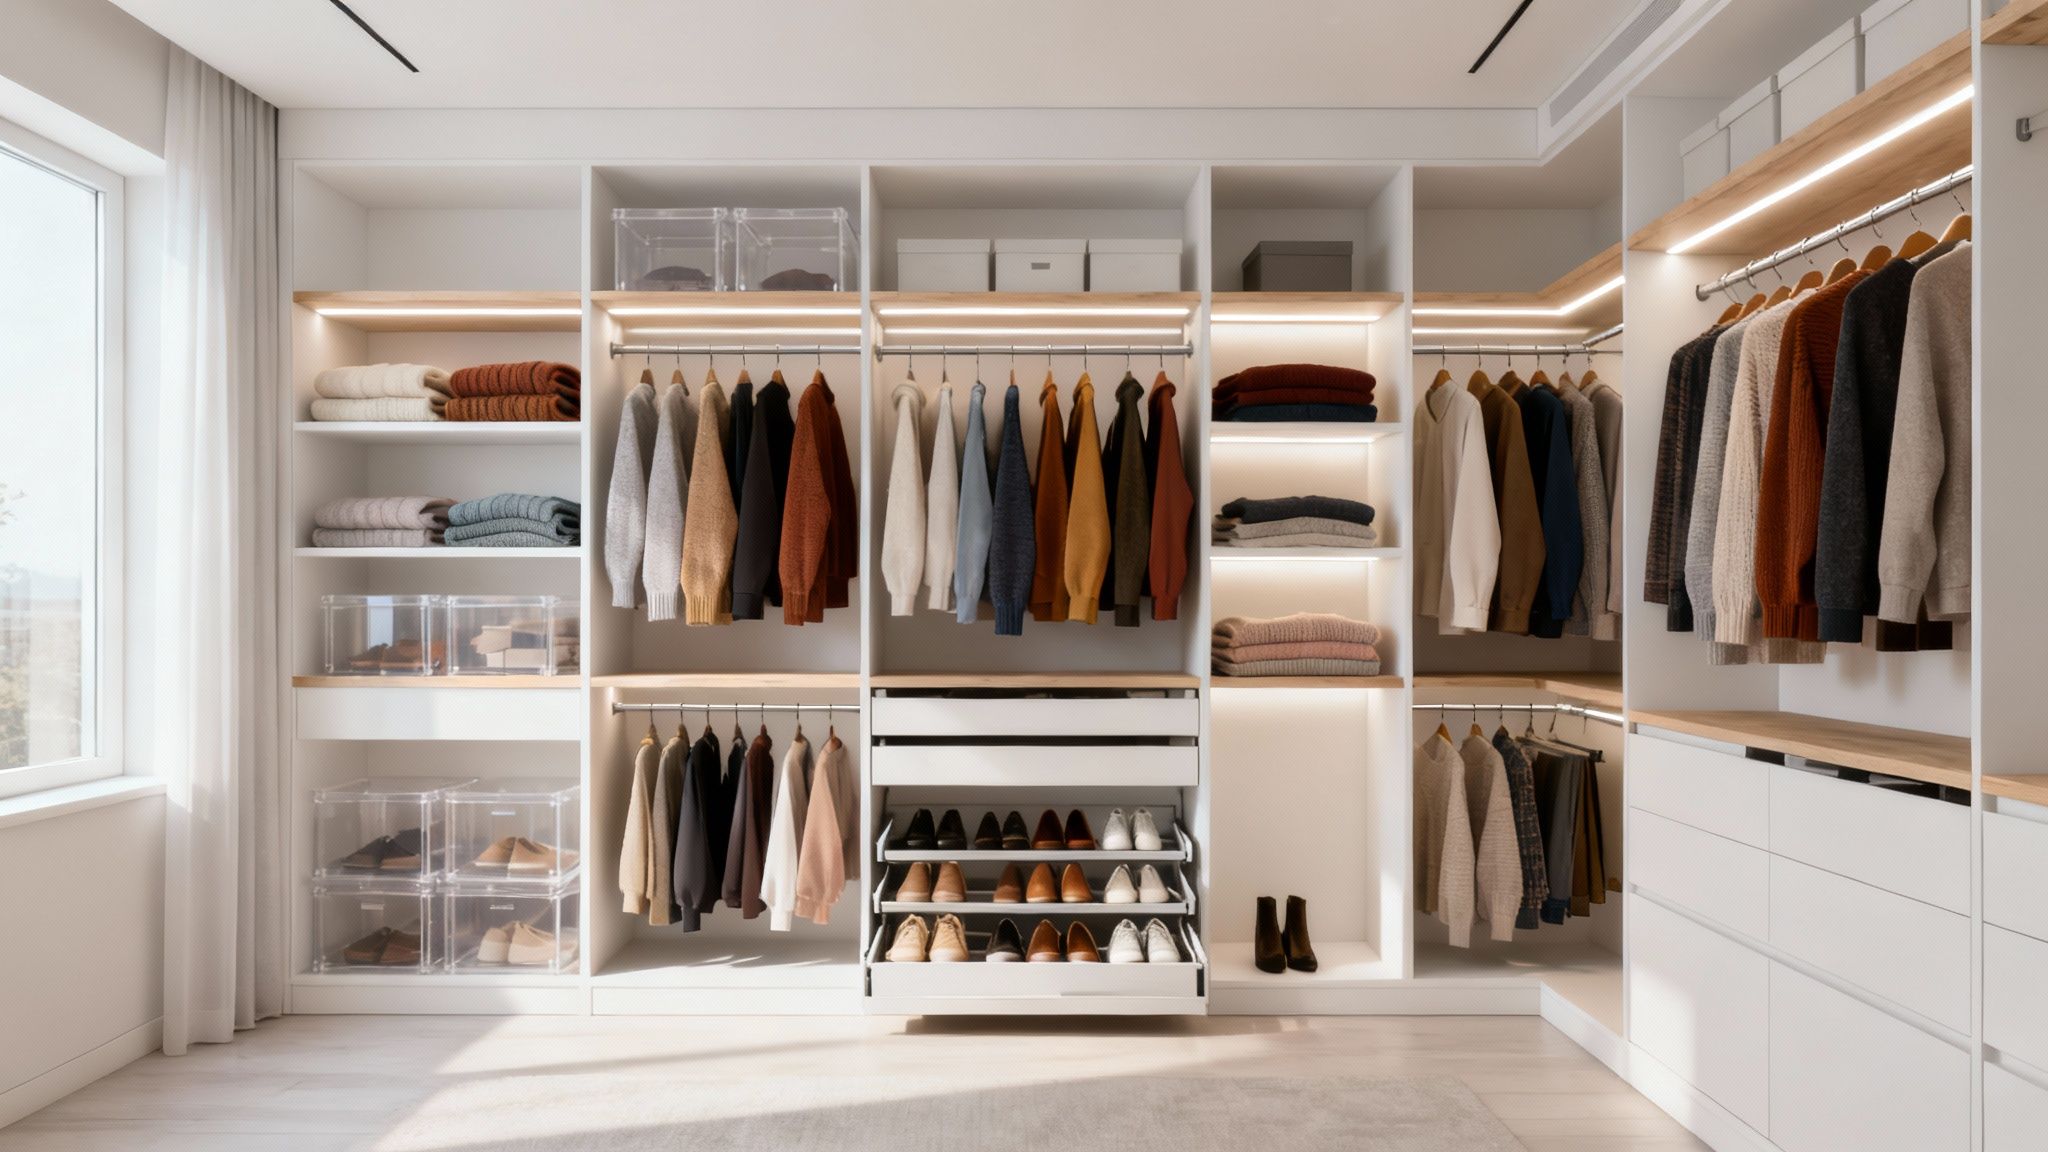
Choosing the Right Storage for Your Supplies
Once your zones are mapped out, you can pick storage containers that are truly a perfect fit for the items they’ll hold. The right container makes your supplies easy to see, grab, and (just as importantly) put away. This is a game-changer for long-term organization.
Think about visibility versus accessibility. Clear containers are fantastic because you see what's inside at a glance, which means less frantic searching. On the other hand, opaque bins or drawers can create a much cleaner, more uniform look if you're aiming for a minimalist aesthetic.
The best storage solution is one that fits both the supply and the space. A container is only useful if it makes an item easier to use, not harder to get to.
Let's break it down with some practical examples I've seen work time and again:
- For Paper and Cardstock: Vertical storage is your best friend. Use magazine file holders or upright paper sorters to keep sheets flat, visible, and free from bent corners.
- For Small Embellishments: Think like a fisherman. Those shallow, multi-compartment tackle boxes are absolutely perfect for beads, buttons, sequins, and jewelry findings.
- For Yarn and Fabric: Open-front bins or cube shelving let you see your beautiful, colorful stash while keeping it contained and protected from dust.
- For Tools: Never underestimate the power of vertical space. A pegboard is a classic for a reason; it keeps frequently used tools like scissors, pliers, and rulers visible and always within easy reach.
For even more ideas on how to blend smart function with great style, check out our guide on stylish storage solutions to declutter your home. It’s packed with inspiration you can easily adapt for your own craft space.
Comparing Common Craft Storage Containers
With so many options out there, choosing the right containers can feel a little overwhelming. This table should help you narrow down your choices based on what you actually need to store.
Choosing the Right Craft Storage Solution
This comparison breaks down common craft storage options to help you decide which containers work best for different types of supplies, weighing visibility, accessibility, and space.
| Storage Type | Best For | Pros | Cons |
|---|---|---|---|
| Clear Bins | Bulkier items like yarn, fabric, or paint tubes | Excellent visibility, stackable, durable | Can look cluttered, may require labeling |
| Drawer Units | Small tools, paper, flat items, art supplies | Conceals clutter, easy access, modular | Can hide items, requires diligent labeling |
| Pegboards | Frequently used tools, rulers, scissors, spools | Maximizes vertical space, highly customizable | Can look messy, not suitable for all items |
| File Holders | Cardstock, vinyl sheets, scrapbook paper | Keeps paper upright and unbent, accessible | Limited to flat items, can take up space |
Ultimately, the goal is to create a system that feels personal to you. Don't be afraid to mix and match these solutions to build a workspace that’s uniquely yours, one that’s perfectly tailored to the crafts you love and the amazing supplies you use to bring them to life.
Building a Digital Craft Inventory to Save Time
Picture this: you're at the craft store, holding a beautiful skein of yarn or the perfect sheet of scrapbook paper. You're *almost* certain you don't have this exact one at home, but a nagging doubt stops you from buying it. A digital craft inventory completely eliminates this guesswork. It saves you from making duplicate purchases and helps you find any supply you own in seconds.Moving beyond physical labels, a digital system is the next logical step to creating a truly efficient craft space. Think of it as a searchable database of everything you own. This means you can plan projects from anywhere (the coffee shop, your kid's soccer practice) and know exactly what you need, or don't need, before you even leave the house.
Why Go Digital With Your Craft Supplies?
The biggest benefit is immediate knowledge. Instead of digging through three different bins to see if you have enough blue paint, you just check your app. This completely changes how you interact with your supplies, turning a potentially chaotic collection into a well-managed resource you can actually use.
The shift toward digital organization is definitely growing. A recent survey of over 10,000 crafters found that 45% already use digital apps to track their inventory, with barcode scanning and photo cataloging being the most popular features. Even better, these tools have been shown to cut down the time spent on inventory management by up to 60%, which is a huge win for any creator. You can discover more insights from the arts and crafts market research that highlights this trend.
Using an Inventory App Like Vorby
Dedicated inventory apps bring some serious power to the table. Using a tool like Vorby lets you build a visual catalog that's both incredibly detailed and a breeze to search. You can just snap photos of your items, and the app helps you log details like quantity, color, and exactly where you stored it.
This visual approach is a total game-changer. Let's be honest, seeing a picture of your fabric stash is way more helpful than reading a line in a spreadsheet. It jogs your memory and helps you visualize potential project combinations instantly.
Here’s a quick look at how an inventory app can display your items, making it easy to see what you have at a glance. The interface clearly shows item photos, names, and locations, turning your collection into your own private, browsable gallery.
One of the most useful features is receipt parsing. You can connect your email, and the app automatically imports new purchases, logs what you spent, and even categorizes the items for you. This creates an effortless record of your spending habits and keeps your inventory current with almost zero effort. Getting started is simpler than you might think; for a deeper dive, our guide on how to take an inventory of your belongings provides a step-by-step walkthrough.
A digital inventory isn't about adding another chore to your list. It's about creating a low-maintenance system that gives you more time to be creative and less time managing what you already have.
Key Features to Look For in an App
When you're picking a digital solution, a few key features will make organizing your craft supplies much, much easier.
- Photo Cataloging: The ability to add images is non-negotiable. A visual inventory is faster to scan and far more intuitive for creative materials.
- Custom Fields: Your system needs to adapt to you. Look for apps that let you add custom fields for things like project ideas, material type, or purchase date.
- Search and Filtering: The whole point of a digital inventory is finding things fast. Powerful search functions that let you filter by category, color, or location are essential.
- Location Tracking: Being able to note that your acrylic paints are in the "blue bin, top shelf" saves you from having to remember every single detail yourself.
Simpler Alternatives for Getting Started
If a dedicated app feels like too much too soon, don't worry. You can still get the benefits of a digital inventory with simpler tools many crafters find success with.
A basic spreadsheet is a great starting point. Just create columns for the item name, category, quantity, and location. While it lacks the visual punch of an app, a well-organized spreadsheet is a powerful and free tool for tracking your supplies.
You could also use a note-taking app like Evernote or Apple Notes. Create a new note for each category (e.g., "Yarn," "Paints") and add photos and descriptions. The search function within these apps can help you find what you need in a pinch.
Ultimately, the best method is the one you will actually use consistently. Whether you choose a feature-rich app like Vorby or a simple spreadsheet, the goal is the same: to give you a clear, accessible overview of your creative toolkit. Start small, maybe by cataloging just one category of supplies, and build from there.
Give Everything a Name: Smart Labeling and Project Kits
 Alright, your supplies are sorted, purged, and nestled into their new zones. The final, critical piece of the puzzle is creating a navigation system. A rock-solid labeling strategy is what transforms a room full of organized bins into a truly functional, searchable library of creative materials.
This is the step that guarantees you can find any single item in seconds, putting a permanent end to that frustrating scavenger hunt that kills your creative flow. A great label tells you what's inside at a glance. The key is to pick a method you'll actually stick with, since consistency is way more important than complexity for long-term success.
From Simple Tags to Smart Labels
Often, the most straightforward approach is the best one. A basic label maker or even handwritten tags with clear, bold lettering can be a total game-changer. The trick is to be specific. Instead of a generic "Yarn," try labeling it "Chunky Wool Yarn" or "Worsted Weight Cotton." That little bit of extra detail saves you from pulling down five different boxes.
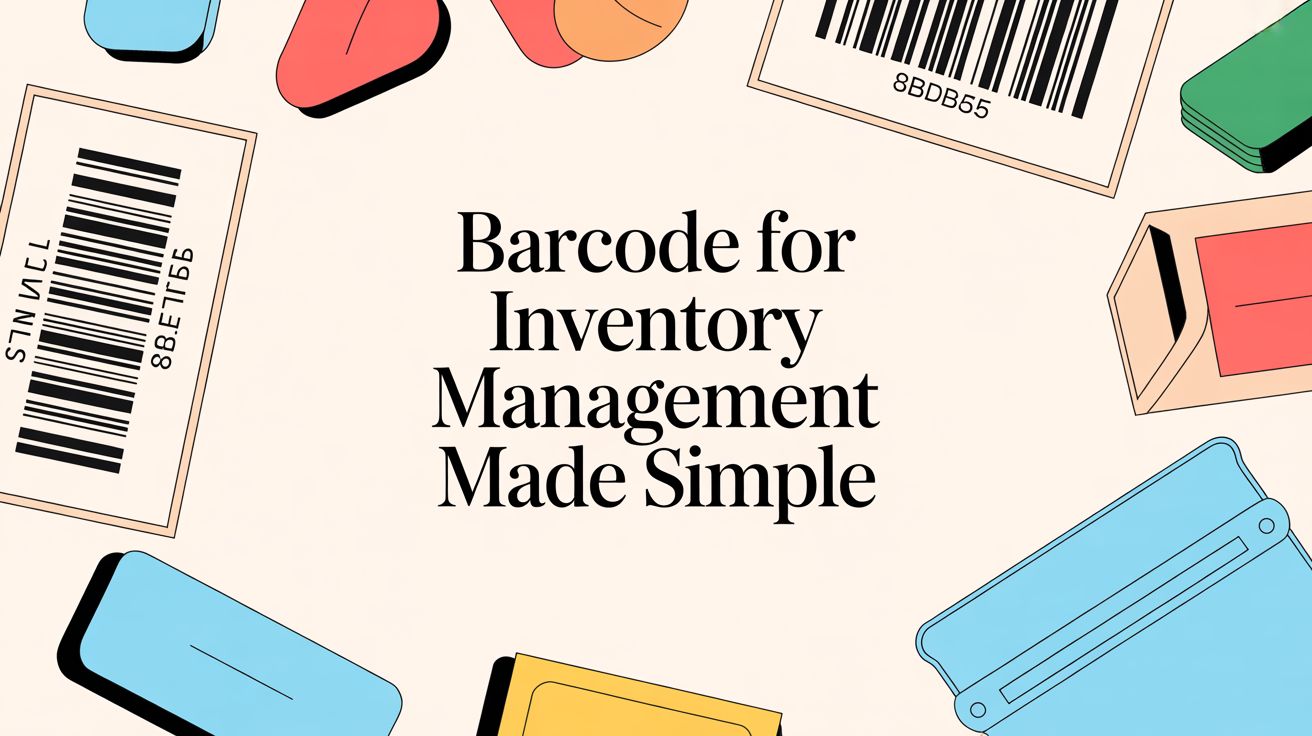
If you're ready for a more advanced setup, you can connect your physical storage to your digital inventory. This is where QR codes come into play. By generating a unique QR code for each container, you can link it directly to a detailed list of its contents in your inventory app. A quick scan with your phone shows you exactly what's inside without ever having to move the bin.
This is a lifesaver for opaque containers or boxes tucked away in a closet. You get that clean, uniform look of solid bins but with all the at-a-glance convenience of clear ones. If you want to see just how powerful this can be, you can learn more about using QR codes for inventory and see how they can completely change your organization game.
Create Grab-and-Go Project Kits
Now, let's talk about a strategy that will honestly revolutionize your crafting sessions: project kits. A project kit is just a pre-assembled box or bag that has all the essential tools and materials for a specific activity you love. It's the ultimate grab-and-go solution that lets you dive into creating the moment inspiration hits.
Think about the crafts you do most often. Are you constantly making handmade cards? Is jewelry design your go-to stress reliever? Creating dedicated kits for these activities removes all the setup friction that can sometimes stop a project before it even gets off the ground.
The real magic of a project kit is that it contains the creative spark, not just the supplies. It removes the barrier between having an idea and acting on it, making your crafting time more spontaneous and joyful.
Imagine you need to whip up a quick birthday card. Instead of digging around for your cardstock, then hunting for adhesive, then searching for your stamps, you just grab your "Card Making Kit." Everything you need is already gathered in one spot, ready for you to get right to the fun part.
What Goes Inside a Project Kit?
Building a kit is simple. Start with a container that fits the supplies; a photo box, a small tote, or a clear shoebox-sized bin all work great. Then, just gather the non-negotiable essentials for that craft.
Here are a few ideas to get you started:
- Card Making Kit: A stack of blank cards and envelopes, some assorted cardstock, a small paper trimmer, an adhesive runner, foam dots, a few favorite stamps and an ink pad, and maybe some common sentiment stickers.
- Jewelry Making Kit: A bead mat, your essential pliers and wire cutters, a small assortment of beads and findings (like clasps and jump rings), and a couple of spools of beading wire or cord.
- Beginner's Knitting Kit: One pair of knitting needles, a few skeins of beginner-friendly yarn, a tapestry needle for weaving in ends, a small pair of scissors, and a handful of stitch markers.
These kits aren't just for your main hobbies, either. You can create smaller "mini-kits" for tasks like mending clothes or wrapping gifts. Having these little self-contained stations makes everyday tasks faster and your main crafting time so much more productive. It’s a proactive approach that makes your whole organization system sustainable.
How to Keep Your Newly Organized Space From Exploding Again
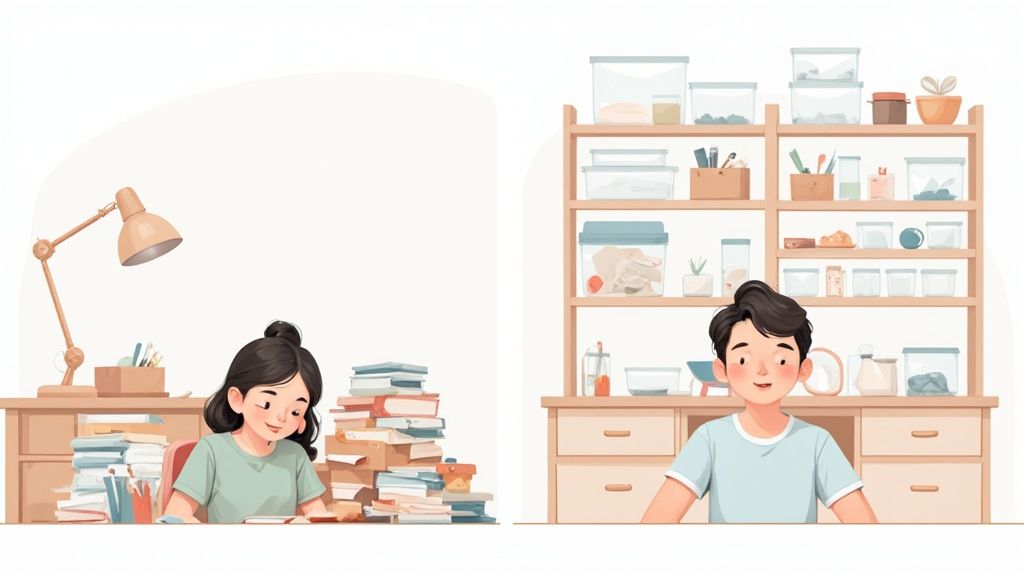
Let's be honest. Getting your craft room organized is the easy part. The real challenge is keeping it that way. An organized space isn't a destination you arrive at; it's a living, breathing system that needs a little attention to stay healthy.
The good news? You don’t need to dedicate another whole weekend to upkeep. The secret to lasting order isn't massive clean-up sessions, but a few simple, smart habits that you weave right into your creative flow. Think of it as preventing the clutter monster from ever getting a foothold again, so you can spend your time making things, not just tidying them.
Build Maintenance into Your Making
The most effective way to stay organized is to make it part of the process, not a chore you do afterward.
Start with the 'one in, one out' rule. It's brutally simple but incredibly effective. When you bring home a gorgeous new skein of yarn or a tube of that perfect cerulean blue paint, something has to go. Use up, donate, or toss an old equivalent. This single habit is your best defense against the slow, creeping expansion that turns a stash into a hoard.
Another game-changer is creating a dedicated spot for your works-in-progress (WIPs). Whether it's a specific tray, a cute basket, or just one corner of your desk, giving active projects a home keeps them contained. It stops half-finished pieces from breeding across every flat surface, which is a total killer for creative energy.
An organized space is just the sum of a bunch of tiny, repeated actions. The goal is progress, not perfection. A quick daily reset will always beat a frantic monthly overhaul.
The Power of the Quick Reset
Maintenance works best in short, focused bursts. Forget about letting the mess pile up until it feels like an insurmountable task.
- The Post-Project Sweep: The moment you finish a project, take five minutes. That's it. Put away every tool, return every supply to its labeled home, and give your surfaces a quick wipe. Making this non-negotiable means you always start your next project with a clean slate, which feels amazing.
- The 10-Minute Tidy: This is my favorite trick. Set a timer for just 10 minutes at the end of the day (or week, if that’s more your speed). Fly around the room putting stray items back where they belong. You will be absolutely shocked by how much you can accomplish in such a short window.
Finally, remember that your system isn't set in stone. It needs to breathe and adapt with you. As your hobbies evolve or you get that cool new die-cutting machine you’ve been eyeing, your zones and storage might need a tweak. A quick review every few months to make sure your setup is still serving you is all it takes to keep things running smoothly for years to come.
Your Toughest Craft Stash Questions, Answered
Even with the best system in place, some supplies just seem to fight back. Let's tackle two of the most common organizing headaches I hear about from fellow crafters.
"What Do I Do With All These Tiny Scraps?"
We’ve all been there. You have a growing pile of fabric slivers, paper cut-offs, and vinyl remnants that feel too useful to toss but too small to store with your main supplies. The instinct is to shove them into a single "scrap bin," but that just creates a chaotic mess you'll never actually dig through.
Instead, think of your scraps as a curated collection. Get some clear glass jars or a small set of acrylic drawers and sort them by color. All the tiny red fabric bits go in one jar, all the blue paper scraps in another. Simple.
Suddenly, they're not junk anymore; they're a resource. When you need a tiny piece for an appliqué, a card accent, or a bit of texture, you can "shop" your scrap collection first.
The secret to managing scraps is to stop treating them like trash. Give them an organized, visible home, and you'll be amazed at how often you reach for them.
"Help! My Ribbon and Yarn Are a Tangled Nightmare."
Tangled fibers are a universal frustration for any crafter. For ribbon, the goal is to keep it from unspooling into a tangled bird's nest. A quick, cheap solution is to wrap your ribbon around flat pieces of cardboard (cereal boxes work great!) and secure the ends with a pin. For a more advanced setup, slotted containers like photo storage boxes are fantastic, you can thread the ribbon ends through the slots and dispense what you need without unraveling the whole spool.
Yarn requires a slightly different approach. The main enemies are tangles and dust. Your best bet is to wind your skeins into neat, stackable "cakes" using a simple yarn winder. These little cakes are a game-changer. They sit flat, you can stack them in clear bins or on cube shelving, and they protect your investment while letting you see your entire color palette at a glance. No more digging for that one specific skein.
Ready to stop searching and start creating? Vorby uses smart AI to build a searchable, visual inventory of your entire craft supply stash. Catalog items with a quick photo, track purchases automatically from receipts, and find anything you own in seconds. It’s time to get your craft room in order.