Yes, you can absolutely create barcodes in Excel. It’s a surprisingly powerful way to manage everything from a small business inventory to your personal collection of tools or books.
The whole process usually boils down to installing a special barcode font or using an add-in to turn your product numbers or IDs into scannable codes. What I love about this approach is that it's incredibly cost-effective and accessible, all while using a program you already know inside and out.
Why You Should Be Barcoding with Excel
Let's be honest, managing inventory often feels chaotic. Manually typing in SKUs or product names is slow and, worse, a breeding ground for tiny errors that can snowball into massive headaches down the road.
Using Excel to create barcodes offers a seriously practical solution. It transforms that familiar spreadsheet into a lean, effective inventory hub without you needing to shell out for specialized (and often expensive) software.

The biggest immediate win is accuracy. Swapping out clumsy manual typing for a quick, satisfying scan just about eliminates human error. This newfound precision streamlines everything, from checking stock levels to logging new shipments, making your entire workflow more efficient. Our own guide on using a https://vorby.com/blog/barcode-for-inventory-management digs deeper into how this one simple change can completely reshape your operations.
Key Advantages of an Excel Barcode System
Bringing barcodes directly into your spreadsheets has some very real, tangible benefits:
- Cost Efficiency: You're building a system with software you likely already own. This lets you sidestep the hefty subscription fees that come with dedicated inventory platforms.
- Improved Speed: Scanning items is worlds faster than hunting and pecking product codes. Think about how much quicker receiving shipments or doing a physical inventory count becomes.
- Enhanced Accuracy: Barcode scanning kills typos and other data entry mistakes before they happen, giving you inventory records you can actually trust.
For a lot of smaller operations, moving to an Excel-based barcode system is a complete game-changer. It perfectly bridges the gap between scribbled notebooks and complex enterprise software, offering a powerful yet manageable upgrade.
This isn't just theory; the results are measurable. Businesses that make this switch have reported a 30% reduction in inventory discrepancies and a 25% jump in how quickly they can process orders. Those efficiency gains directly translate to lower operational costs, making it a brilliant move for anyone looking to optimize their workflow on a budget.
Over the rest of this guide, we’ll walk through the three main ways to get this done in Excel. We'll cover everything from using barcode fonts and handy add-ins to fully automating the process with a bit of VBA code.
Creating Barcodes with Simple Fonts
One of the most straightforward ways to get barcodes into Excel is by using a special barcode font. Think of it as "tricking" Excel. Instead of displaying numbers and letters, you're telling it to show a scannable series of bars. For a lot of home projects, like cataloging your workshop tools or creating a personal library system, it's a fast, free, and surprisingly effective method.
First things first, you need to get the font onto your computer. We're going to use Code 39, which is one of the most common and universally compatible fonts out there. A quick search for "free Code 39 font" will point you to reputable font sites where you can download it. Installation is usually a breeze: just open the font file (it’ll likely be a .ttf or .otf file) and click the "Install" button.
Prepping Your Data for the Barcode Font
This is the magic step, and it's the one most people miss. A barcode font can't just convert any old number; the data needs to be formatted in a specific way that a scanner can understand.
For the Code 39 font, this means you absolutely must wrap your data in asterisks. These aren't just for decoration; they act as the crucial start and stop characters, telling the scanner exactly where the barcode begins and ends.
Let's say your item ID is 12345. If you just apply the barcode font to that number, a scanner won't have a clue what to do with it. It needs to see *12345*. Trying to add those asterisks manually for hundreds of items would be a total nightmare, but a simple Excel formula makes it instant.
Imagine your raw item IDs are sitting in column A. In the next column over (column B), you'll use this formula to automatically add the asterisks:
="*"&A2&"*"
This little formula tells Excel to take whatever is in cell A2 and sandwich it between two asterisks. Once you've entered that into cell B2, just grab the fill handle, which is that tiny square at the bottom-right corner of the cell, and drag it down. Bam. All your item IDs are now perfectly formatted.
Applying the Font to Make Your Barcodes
With your data properly formatted in column B, the final part is the easiest. All you have to do is select the cells with your new, asterisk-wrapped data and change the font to the Code 39 font you installed earlier. You'll see the text instantly transform into scannable barcodes right before your eyes.
Pro Tip: Don't be afraid to crank up the font size. Your new barcodes might look a bit small at first. I usually bump them up to 28 or 36 points and adjust the row height to match. This makes them much larger and easier for a scanner to read accurately.
As great as this technique is, you need to know its limits. The font method works best for simple, alphanumeric barcodes like Code 39. It's not going to work for complex types like QR codes, which hold way more information.
Also, keep in mind that the barcode is just a font. If you email your spreadsheet to someone who doesn't have that specific font installed on their computer, they'll just see the raw data (*12345*) instead of the barcode.
Barcode fonts are a fantastic starting point, but they do have their limits. When your project demands more flexibility, like generating different barcode types or tackling larger datasets, Excel add-ins are the logical next step. They offer a much more robust and user-friendly experience, often without needing to write a single formula.
Think of an add-in as a mini-program that plugs directly into Excel, adding new buttons and features to your ribbon. Finding and installing them is pretty straightforward. The safest bet is the official Microsoft Office Store, which you can get to right from the "Insert" tab in Excel. A quick search for "barcode" will pull up several options, many with powerful free versions.
It can be tough to know when to stick with a font and when to upgrade to an add-in. This decision tree can help you visualize the best path for your project.
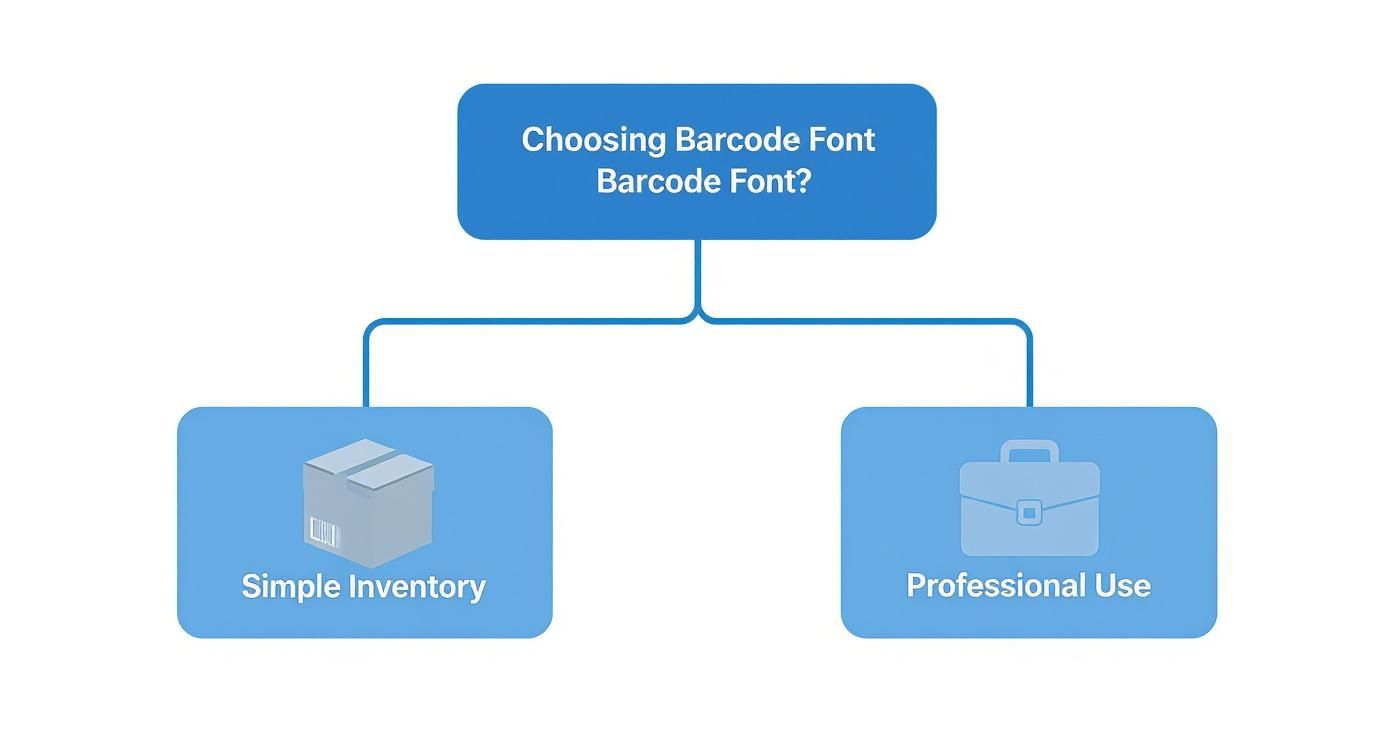
The key takeaway here is that while fonts are great for simple, straightforward jobs, add-ins bring the professional features you need for more complex inventory management.
Navigating a Typical Barcode Add-In
Once you’ve installed an add-in, you'll usually see a new pane or button pop up in your Excel ribbon. The interface is almost always intuitive. You just select the cell with your data (like a SKU or product ID), pick the barcode type you need from a dropdown menu, and click a "Generate" button.
This simple process unlocks a world of possibilities that fonts just can't offer.
- Diverse Barcode Types: You can easily create Code 128 barcodes (which are much more compact than Code 39) or even 2D codes like QR codes.
- Bulk Generation: Most add-ins can generate barcodes for an entire column of data in a single click, which is a massive time-saver.
- Easy Customization: You can often tweak the barcode's height, width, and even add human-readable text below it, all from the add-in's panel.
This kind of functionality is a big reason why the global market for Excel-compatible barcode software has ballooned to over $137 million. In fact, over 70% of small businesses in North America and Europe lean on Excel for inventory management, with a huge chunk of them using add-ins for their day-to-day operations.
Why Add-Ins Are Ideal for Advanced Inventory
Add-ins really start to shine when you're managing a more dynamic or professional-level inventory. Let's say you're creating asset tags for new office equipment. With an add-in, you could embed a QR code that links directly to an online maintenance log or a user manual. That’s something a simple font just can't do, but it only takes a few seconds with an add-in. For a deeper look at how this works, you can check out our detailed guide on what are asset tags and how to use them effectively.
The real power of an add-in is that it generates an actual image of the barcode and embeds it into your worksheet. This means the barcode is no longer tied to a font file. You can share the spreadsheet with anyone, and they’ll see the barcode exactly as you intended, whether they have the font installed or not.
This image-based approach also guarantees better scannability. The add-in controls the exact proportions and clarity of the barcode, slashing the risk of printing errors that can make font-based codes unreadable. For any system where accuracy is critical, it's simply the more reliable solution.
Automating Barcode Creation with VBA
If you're looking to get serious about your Excel barcode system, it's time to talk about Visual Basic for Applications, or VBA. While fonts and add-ins are great for getting started, VBA is where the real magic happens. It lets you build a truly automated system, one where a new barcode is generated the instant you add a new item to your list.
This turns your static spreadsheet into a dynamic inventory machine. No more manual steps. Just type in your new item, and poof, the barcode appears.
Setting this up takes a few minutes, but the payoff in efficiency is huge, especially if you're constantly adding things to your inventory. Instead of dragging formulas or clicking buttons, a simple script just sits in the background, doing the work for you. It completely eliminates repetitive tasks and keeps your barcode system perfectly consistent.
Getting into the Visual Basic Editor
Before we can add the code, we need to open up Excel's engine room: the Visual Basic Editor (VBE). Don't worry, it's built right in and easy to access.
Just press Alt + F11 on your keyboard. That's it. The VBE window will pop up.
Inside the VBE, look for the "Project Explorer" pane, usually on the left. You'll see your workbook and a list of all the sheets inside it. Find the sheet where you'll be adding your inventory data and double-click it (for example, Sheet1 (Inventory)). This will open a blank white code window.
This is exactly where we'll paste our script. By putting the code inside a specific worksheet's module, we're telling Excel to only run this script when something changes on that particular sheet. It's a clean and efficient way to contain the automation.
The VBA Script for Automatic Barcodes
Ready for the code? Copy the entire script below and paste it directly into that blank code window you just opened. This script is set up to watch for new entries in column A and automatically create a formatted Code 39 barcode in column B.
Private Sub Worksheet_Change(ByVal Target As Range)
' Check if the change happened in column A (our data column)
If Not Intersect(Target, Me.Columns("A")) Is Nothing Then
' Disable events to prevent an infinite loop
Application.EnableEvents = False
    ' Check if the cell is not empty
    If Target.Value <> "" Then
        ' Apply the formula to the adjacent cell in column B
        Target.Offset(0, 1).Value = "*" & Target.Value & "*"
        ' Apply the barcode font and set a good size
        With Target.Offset(0, 1).Font
            .Name = "IDAutomationHC39M" 'Change this to your font name
            .Size = 36
        End With
    Else
        ' If the data cell is cleared, clear the barcode cell too
        Target.Offset(0, 1).ClearContents
    End If

    ' Re-enable events
    Application.EnableEvents = True
End If
End Sub
Heads Up! This script assumes you have a Code 39 font installed. You absolutely must change
"IDAutomationHC39M"to the exact name of the barcode font installed on your computer. If the names don't match, it won't work.
So, what's this code actually doing? It's pretty straightforward. It uses a Worksheet_Change event, which means it runs every time you edit a cell on that sheet.
It first checks if the change happened in column A. If it did, it grabs the value you entered, wraps it in the necessary asterisks for Code 39, and puts that new string in the cell next door (column B). Then, it applies your specified barcode font to make it scannable. It’s even smart enough to clear the barcode if you delete the item in column A, keeping your sheet nice and tidy.
The final, crucial step is saving your file. Go to File > Save As and change the file type to Excel Macro-Enabled Workbook (.xlsm). If you save it as a regular .xlsx file, the VBA code will be stripped out and the automation will stop working.
How to Print and Scan Your Barcodes
Okay, so you've got a spreadsheet full of barcodes. That's a huge step, but they’re pretty useless sitting on your screen. The real magic happens when you get them off the computer and onto your physical stuff, turning your Excel sheet into a living, breathing inventory system. Let's walk through how to take those digital codes and make them scannable in the real world.
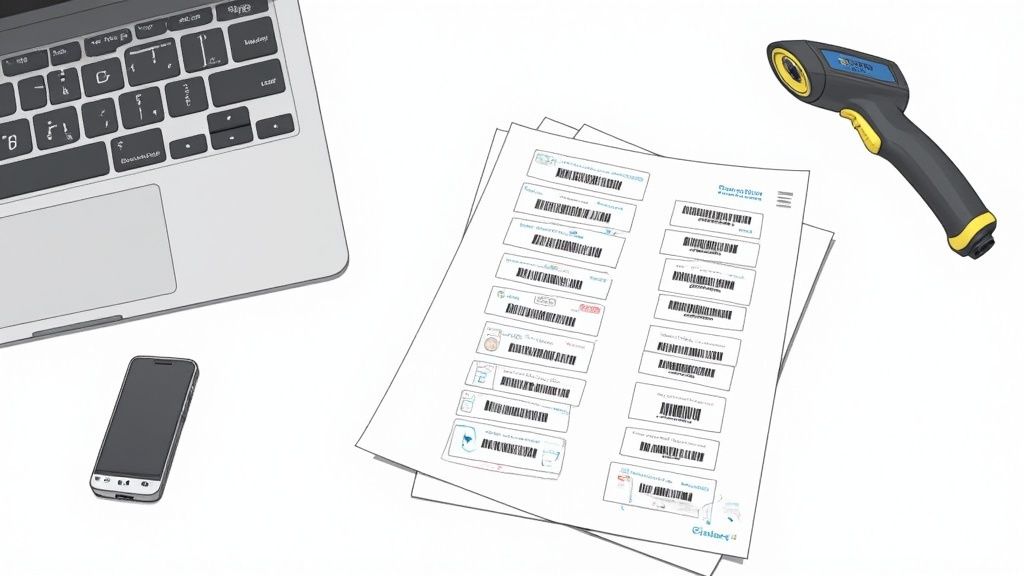
The quickest way to get labels printed is to just set up a simple grid on a new Excel sheet. You can fiddle with the column widths and row heights until they match the dimensions of your label sheets (think popular Avery 5160 labels). From there, it's a simple copy-and-paste job to fill the grid with your barcodes, and you're ready to print.
If you need something a bit more polished or you're printing a massive batch, Excel's Mail Merge feature (which you'll actually find in Microsoft Word) is your secret weapon. It lets you pull data straight from your spreadsheet into a proper label template. This gives you perfect alignment every time without any tedious manual adjustments, a lifesaver for big projects.
Keys to Successful Printing
Getting a clean, scannable print is about more than just hitting the "Print" button. A few small details can be the difference between a perfect scan and a frustrating error message. Pay close attention to these before you start the job.
- Print Quality: Always, always print at the highest resolution your printer can handle. Using "draft" or low-quality mode is a recipe for fuzzy, incomplete bars that scanners just can't decipher.
- The Quiet Zone: That blank white space on either side of the barcode? It's not just for looks. It's a critical signal that tells the scanner where the code starts and stops. Make sure you leave at least a quarter-inch of this "quiet zone" on both sides.
- Paper and Ink: Use decent label sheets and check that your printer isn't running low on ink or toner. A smudged line or cheap paper that lets the ink bleed can easily make a barcode unreadable.
I see this all the time: people shrink barcodes way down to cram more onto a single page. It might save a few cents on labels, but it’s one of the top causes of scanning failures. A slightly larger, clearer barcode is always a better bet than one that’s too dense for a scanner to read reliably.
This whole process is incredibly useful for getting physical items organized, whether it's office supplies or your personal belongings. For example, you can use this exact technique to label moving boxes. You could even use QR codes that link to a detailed list of what's inside each box, an idea we explore in our guide to QR coded moving boxes.
Scanning Your Barcodes Back into Excel
With your items all labeled up, it’s time to close the loop by scanning them. This is the most satisfying part, where all your prep work pays off with that simple, quick beep.
Connecting a scanner is ridiculously easy. Most barcode scanners these days are just plug-and-play USB devices. Your computer sees it as a keyboard, so there’s no clunky software to install.
To start scanning, just open your spreadsheet and click on the cell where you want the data to go, maybe a "Last Scanned" or "Status" column. Aim the scanner at a barcode, pull the trigger, and the data it holds will instantly get "typed" right into that cell, followed by an automatic press of the "Enter" key. This makes doing a physical inventory count or checking items in and out incredibly fast and virtually error-proof.
Common Questions About Excel Barcoding
Even with the best instructions, you're going to hit a few snags when setting up a new system. It happens. When it comes to barcoding in Excel, most people stumble over the same few issues. Let's get ahead of them now and save you a ton of frustration.
One of the first things I hear is, "I printed my barcodes, but they won't scan!" Don't worry, this is almost never an Excel issue. It's usually a simple formatting or printing problem, and getting it right is the key to a reliable system.
Why Won't My Printed Barcodes Scan Correctly?
If your scanner refuses to give you that satisfying beep, don't panic. The fix is usually pretty straightforward. Let's walk through the four most common culprits I see when a barcode won't scan.
- Missing Start/Stop Characters: This is the number one mistake, hands down. For a standard Code 39 barcode, your data must be wrapped in asterisks. Think
*12345*, not just12345. Without them, the scanner has no idea where the barcode begins or ends. It's like trying to read a sentence with no punctuation. - Poor Print Quality: A cheap printer setting is your enemy here. Low-resolution printing, smudged ink from a failing cartridge, or running low on toner can make the bars blurry and unreadable to a scanner. Always use your printer's highest quality setting for labels.
- No "Quiet Zone": Scanners need a little breathing room. That empty white space on either side of the barcode is called the "quiet zone," and it's essential. If your code is crammed right up against text or the edge of the label, the scanner can get confused and fail to read it.
- The Barcode is Too Small: It's tempting to shrink barcodes to cram more onto a page, but if you go too small, the scanner's laser can't distinguish between the individual bars. As a rule of thumb, try increasing the font size to at least 28-36 points for good scannability.
Can I Make QR Codes Without an Add-In?
While you can generate simple, one-dimensional barcodes like Code 39 using just a special font, creating a 2D barcode like a QR code is a whole different ballgame. These codes are far more complex and can't be produced by simply typing and changing the font.
Generating a valid QR code involves a complex algorithm for data encoding and error correction. While some highly advanced VBA scripts can pull it off, using a dedicated Excel add-in is by far the most practical and reliable method for anyone who isn't a programming expert.
Add-ins do all the heavy lifting for you. You just feed it the data, like a website URL or a detailed product description, and the add-in generates a perfect, scannable QR code image right in your spreadsheet.
Ready to create an inventory system that's both powerful and effortless? Vorby uses QR codes and advanced AI to help you catalog, find, and manage everything you own. Stop searching and start organizing. Explore how it works and begin your free trial.