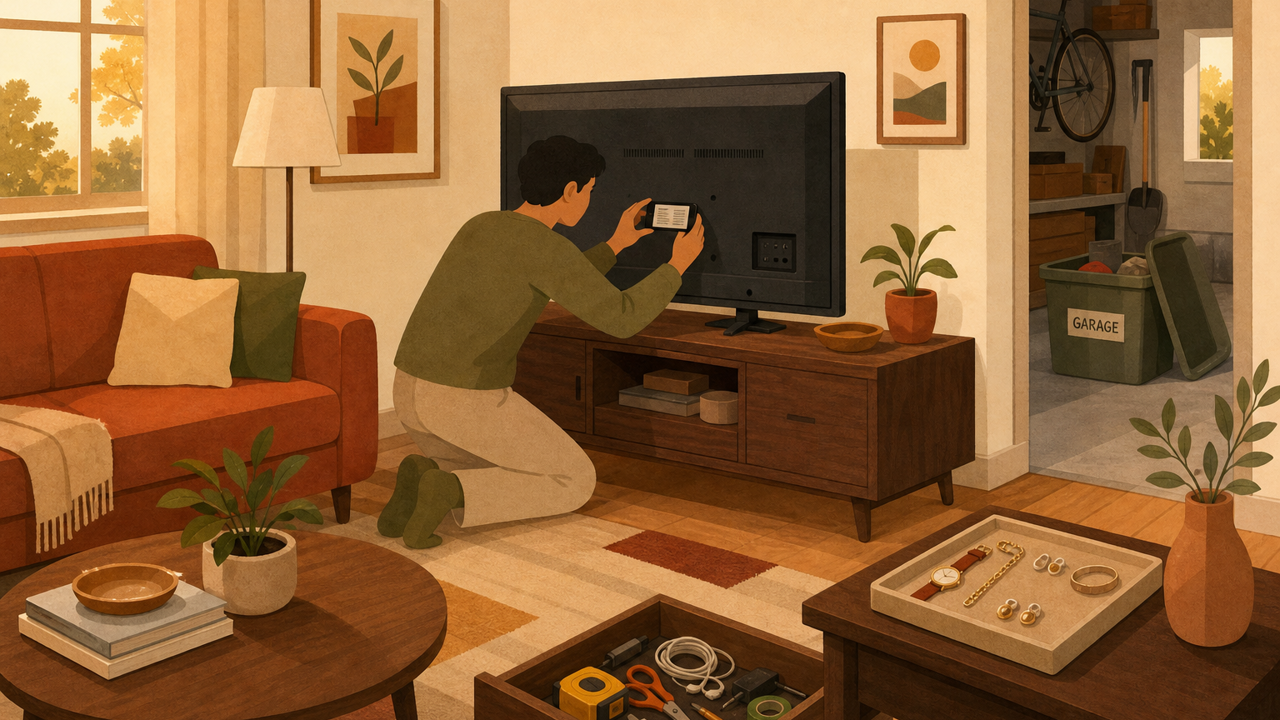
Inventory for moving out rental homes starts with a simple idea: your memory is not evidence. When you are tired, boxes are stacked in the hallway, and your lease clock is running, a careful move-out inventory gives you a dated record of the rental's condition, the belongings you removed, and the damage that was already there or never existed.
That record matters because renters are operating in a high-friction moment. Pew Research Center has reported that many renter households are cost-burdened, meaning a surprise deduction can hurt. The U.S. Census Bureau's Housing Vacancies and Homeownership historical tables track tens of millions of renter-occupied homes, which means move-out disputes are not rare edge cases. They are an everyday household paperwork problem.
A move-out inventory is not the same as a packing list. A packing list helps you get your things to the next address. A rental move-out inventory helps you prove what the apartment, house, or room looked like when you handed it back. It should cover condition, cleaning, fixtures, appliance status, keys, receipts, shared belongings, and any communication with the landlord or property manager.
This guide gives renters a practical way to document the rental before moving out, without turning the last week into a courtroom reenactment. The goal is calm, dated, searchable proof.
Why a move-out inventory protects renters
Security deposit disputes usually start with vague memory
Most rental arguments begin with a sentence nobody can prove: "That scratch was not there before." The landlord may remember the unit one way, you may remember it another way, and roommates may remember nothing because they were packing lamps at midnight. A move-out inventory changes the conversation from memory to records.
That matters even when you have been a good tenant. Ordinary use, old wear, pre-existing damage, and move-related scuffs can blur together after the unit is empty. Photos taken after furniture is removed show baseboards, walls, corners, floors, outlets, cabinets, blinds, sinks, tubs, appliances, and doors in a way casual walkthrough photos cannot.
The point is not to assume the landlord is looking for a fight. The point is to avoid building your defense after the disagreement starts. A clear record makes fair outcomes easier for everyone.
Renters move under pressure
Moving compresses a lot of decisions into a few days. USAGov's change-of-address guidance is a reminder that moving is not just boxes, it is mail, government records, financial accounts, utilities, services, and identity details. In that crush, rental condition documentation is easy to postpone until the unit is half-dark and the keys are due in an hour.
The better approach is to treat inventory as part of the move-out process, not an extra chore. Schedule it before the final cleaning, after large furniture leaves, and again after the rental is empty. Those three passes catch different types of evidence.
Documentation is cheaper than reconstruction
Trying to reconstruct a move-out after the fact is miserable. You scroll camera rolls, ask roommates for photos, search email for repair requests, and wonder whether the blurry wall in the background of a selfie shows the mark in question. That is not a system. That is archaeology with a deposit on the line.
Insurance Information Institute home inventory guidance focuses on photos, video, receipts, serial numbers, and records because details are easiest to capture before a claim or dispute. The same principle applies when you leave a rental. Capture the condition while you still have access.
The best move-out inventory is boring on purpose: every room, every surface, every fixture, dated before anyone has to argue about it.
Start before the last box leaves
Gather the lease, move-in report, and repair history
Before you photograph a single wall, collect the documents that define what "good condition" means for your rental. Pull your lease, move-in inspection report, any landlord checklist, pet addendum, parking agreement, appliance inventory, and building rules. If your city or state has a required move-out notice process, add that too.
Then gather repair history. Search email and text threads for maintenance requests, landlord replies, work orders, leak reports, pest notices, appliance issues, and conversations about previous damage. If a closet door was cracked at move-in, a dated message is more useful than your sincere belief that everybody knew about it.
Store those documents in one folder before you begin. If you use Vorby for household records, create a move-out collection for the rental and attach photos, receipts, and notes to the relevant rooms or items. The value is not fancy filing. It is finding the right proof in ten seconds when somebody asks.
Make a room-by-room checklist
A rental inventory fails when it depends on inspiration. Use the same checklist for every room so you do not document the kitchen like a detective and the bedroom like a tourist.
- Walls: Photograph each wall straight on, then any marks, nail holes, patches, paint differences, or dents.
- Floors: Capture wide photos plus closeups of scratches, carpet stains, loose boards, tile cracks, or worn thresholds.
- Doors and trim: Include hinges, locks, handles, jambs, baseboards, closet tracks, and weather stripping.
- Windows and coverings: Photograph glass, screens, blinds, cords, curtain rods, locks, and sills.
- Fixtures: Include lights, fans, smoke detectors, outlets, switches, towel bars, shelves, mirrors, and mounted hardware.
- Appliances: Photograph the exterior, interior, model labels when visible, and working status.
- Cleaning condition: Capture sinks, tubs, toilets, ovens, refrigerator shelves, cabinets, drawers, vents, and under-sink areas.
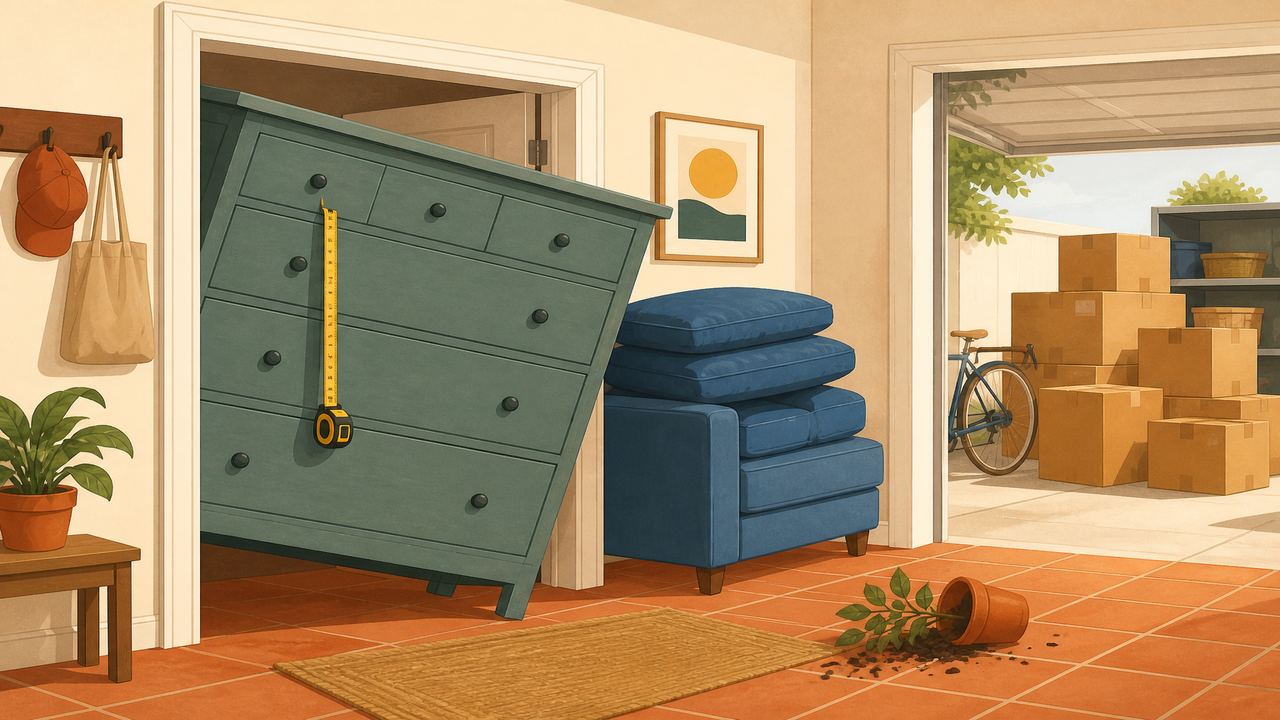
If you already have a furniture plan for the move, connect it to the rental record. A furniture inventory before moving helps you separate damage to your belongings from damage to the unit itself, which is especially useful when large pieces pass through tight doorways.
Assign responsibilities if you have roommates
Shared rentals need clear ownership of documentation. One person should not be responsible for proving the whole apartment was clean while everyone else disappears into their new life. Assign rooms, set a shared deadline, and agree where photos and notes will live.
Roommates should also identify which items are personal, shared, landlord-owned, or abandoned. That matters when a deduction is tied to removal, cleaning, or replacement. If a microwave, rug, shelving unit, or patio chair was shared, record who is taking it or who agreed to dispose of it. Vorby is useful here because a household can track ownership, locations, receipts, and notes without relying on one roommate's camera roll.
Photograph the rental like evidence, not memories
Use wide shots first, closeups second
The most common move-out photo mistake is taking only closeups. A closeup of a scuff proves a scuff exists, but it may not prove where it was. Start each room with wide shots from every corner. Then photograph each wall, floor section, window, fixture, and built-in area. After that, take closeups of anything that could be questioned.
For every closeup, take one context photo from a few feet away. If you document a scratch on the bedroom door, take the closeup, then take a wider photo showing the entire door and room. If you document a stain near the refrigerator, capture the stain, then capture the kitchen layout. Context turns a pile of photos into a usable record.
Keep lighting consistent. Open blinds, turn on lights, and avoid heavy filters or portrait modes. You are not selling the apartment. You are documenting condition. Clear, ordinary photos beat dramatic angles every time.
Record short videos for continuity
Photos are precise, but video shows continuity. Walk slowly through the unit after it is empty. Say the date, address or unit number if you are comfortable storing that in the file, and room name. Pan slowly across walls, floors, ceilings, closets, cabinets, bathrooms, appliances, windows, and entry points. Open and close doors and drawers when relevant.
Do not rely only on one long video. Long videos are annoying to scrub and harder to cite. Use short clips by room, with filenames or notes that make sense later: kitchen-after-cleaning, bedroom-closet-empty, hallway-walls, bathroom-fixtures. If you store them in a home inventory app, tag them to the room or move-out project.
Video is especially useful for appliances. Show the stove burners lighting, the refrigerator cold and empty, the dishwasher door and racks, the washer and dryer if included, and the garbage disposal if applicable. If something does not work, record that too and connect it to any earlier repair request.
Keep the original metadata
Dated records are stronger than mystery files. Keep original photo and video files whenever possible because they often include timestamps. If you send photos by text or upload them to a shared folder, keep the originals in your own storage too. Some apps compress or strip metadata.
Use clear names or notes, but do not over-edit the images. Cropping, filters, markup, and screenshots can weaken the sense that this is a direct record. If you need to annotate, keep a clean original and a marked copy. For claim-style documentation, the lesson is similar to home insurance claim photos: prove the item or condition, prove where it is, and keep the supporting details together.
Document condition room by room
Kitchen: appliances, cabinets, counters, and cleaning
Kitchens create a lot of deductions because they contain appliances, grease, water, drawers, cabinet hinges, and hidden corners. Photograph the refrigerator inside and out, including shelves, drawers, door bins, freezer, water line area if visible, and exterior panels. Open the oven, show the racks, stovetop, burner pans, control knobs, range hood, filter, microwave, dishwasher, sink, garbage disposal, and under-sink cabinet.
Then move to surfaces. Capture counters, backsplash, cabinets, drawer interiors, pantry shelves, floor edges, and baseboards. If you cleaned the oven or hired a cleaner, attach the receipt to the move-out record. If a stain, chip, burn mark, or cabinet issue was present before move-out, include a closeup plus a note.
A kitchen inventory is not only about defending against claims. It also helps you avoid leaving personal property behind. Check the top of cabinets, back of drawers, under the sink, pantry corners, and refrigerator door. The most expensive forgotten thing is rarely dramatic. It is usually a filter, tool, small appliance part, or receipt you needed later.
Bathroom: water, grout, mirrors, fixtures, and ventilation
Bathrooms deserve slow documentation because water damage can become a broad accusation. Photograph the tub or shower, grout, caulk, tile, glass, curtain rod, showerhead, faucet, sink, vanity, mirror, towel bars, toilet, fan, light fixture, medicine cabinet, floor, and under-sink area. Show that cabinets are empty and that drains are clear if they are.
Pay attention to existing stains, discoloration, peeling paint, soft flooring, loose fixtures, and ventilation problems. If you previously reported a leak, fan failure, running toilet, or mold concern, connect the move-out photos to that maintenance history.
Do not try to hide normal wear. Clean honestly, document clearly, and avoid making last-minute repairs that could look worse than the original issue. If your lease requires specific cleaning, photograph the completed work and keep supply or service receipts.
Bedrooms, closets, and living spaces
Bedrooms and living rooms look simple until furniture leaves and every wall mark becomes visible. Photograph each wall after beds, couches, shelves, desks, and televisions are removed. Include closet interiors, rods, shelves, doors, tracks, carpet, floor transitions, windows, blinds, screens, baseboards, outlets, ceiling fans, light fixtures, and smoke detectors.
For nail holes or mounted items, document what was there and what remains. Follow your lease or landlord instructions before patching. Some landlords prefer tenants not to patch because mismatched paint creates a bigger repair. If you do patch, photograph before, during, and after, and keep the materials receipt.
Living areas also hold shared belongings. If roommates bought a couch, router, bookshelf, television stand, or cleaning tool together, document whether it was removed, sold, transferred, or discarded. That keeps a rental condition record from turning into a separate roommate argument.
Track belongings, receipts, and landlord property separately
Separate your items from the rental's items
A move-out inventory should distinguish three categories: what belongs to you, what belongs to the landlord, and what belongs to someone else in the household. Landlord property can include keys, garage remotes, mailbox keys, appliance manuals, parking passes, window screens, router equipment supplied by the building, trash bins, and furniture in furnished rentals.
Create a simple list of landlord-owned items and photograph them before return. If you hand over keys or remotes, ask for written confirmation or send a dated email: "Returned two front door keys, one mailbox key, and one garage remote at 3:15 p.m." That sentence is not glamorous, but it can prevent a replacement charge.
For your belongings, a household inventory helps you prove what left the unit and where it went. This is useful if movers damage something, if storage boxes go missing, or if a roommate later claims an item was left behind. The Federal Trade Commission's consumer guidance on hiring movers emphasizes written estimates and records because moving disputes become easier to manage when documents are organized.
Attach receipts to cleaning, repairs, and disposal
Receipts are part of the rental condition story. Keep receipts for professional cleaning, carpet cleaning, junk removal, storage, paint or patch supplies, replacement light bulbs, appliance filters, and landlord-approved repairs. If you paid a roommate back for shared move-out supplies, save that too.
Digital receipts should be stored with the room or issue they support. A generic cleaner receipt is helpful; a cleaner receipt attached to kitchen, bathroom, and carpet photos is better. If you need a repeatable habit, the same principle used to scan receipts for tax deductions applies here: capture the date, vendor, amount, purpose, and readable proof before the paper fades or disappears.
If you use Vorby, attach the receipt to the move-out project, relevant item, or room note. Searchable receipts are more useful than a folder called "moving stuff" with twenty screenshots in it.
Do not donate, dump, or abandon without proof
Abandoned property can create real costs. If you donate furniture, remove junk, recycle electronics, or arrange a bulky-item pickup, keep confirmation. Photograph the cleared area afterward. If the landlord approved leaving an item for the next tenant, get that approval in writing.
This matters in shared living. One roommate may think a table is a gift to the house; another may think it is trash; the landlord may think it is disposal work. Use a shared supplies or shared household record to name the item, owner, action, and date. If roommates are splitting responsibilities, a roommate guide to shared household supplies gives a useful framework for turning vague obligations into visible records.
Build a clean handoff record
Create a final walkthrough packet
Your final packet does not need to be beautiful. It needs to be complete. Include the move-out date, forwarding address if appropriate, room-by-room condition notes, key return details, cleaning receipts, repair receipts, disposal confirmations, utility shutoff confirmations, and a link to the photo and video folder. If there is a required landlord checklist, include that checklist.
Keep a copy for yourself before sending anything. If you use cloud storage, make sure permissions work. If you use a home inventory app, export or share the relevant record in a form the landlord can open. Do not send a giant unorganized dump and expect someone else to interpret it.
Write notes like a calm adult who may need to reread them later. "North bedroom, west wall, three small pre-existing nail holes visible in move-in photos" is better than "wall was already like this." Specific beats emotional.
Email the record after key return
After the final walkthrough or key return, send a short email. Confirm the date and time you vacated, the keys and devices returned, the condition of the unit, and where the documentation is stored. Attach or link the most important items rather than sending a chaotic pile.
Keep the tone practical. You are not accusing anyone; you are closing the loop. A simple note can say that the unit has been emptied and cleaned, keys have been returned, and the attached photos and receipts document the condition at move-out. If the landlord performed a walkthrough with you, summarize any agreed notes.
If deductions appear later, respond with the specific record that addresses each item. Do not argue from memory. Cite the room, photo, receipt, prior maintenance message, or walkthrough note.
Keep the file until the deposit is resolved
Do not delete the inventory when you move into the new place. Keep the file until your deposit is returned and any disputes are fully closed. If your state gives landlords a specific deadline for itemized deductions, mark that date on your calendar. If a dispute continues, keep the record longer.
The archive should be easy to understand without you narrating it. Use folders or labels for lease, move-in, repair history, cleaning, room photos, videos, key return, and deposit correspondence. Future you should not need a corkboard and red string to figure out what happened.
FAQ: inventory for moving out of a rental
What should I photograph before moving out of a rental?
Photograph every room with wide shots and closeups: walls, floors, baseboards, doors, windows, fixtures, appliances, cabinets, closets, bathrooms, and cleaned surfaces. Include context photos for every closeup so the location is clear.
Should I take photos before or after cleaning?
Take both. Before-cleaning photos can show pre-existing condition and remaining work; after-cleaning photos show the condition you returned to the landlord.
Do I need a video walkthrough?
Yes, a short video walkthrough by room is useful because it shows continuity. Use photos for detail and video to show that the room was empty, cleaned, and documented in one pass.
How should roommates handle a move-out inventory?
Assign rooms, agree on a shared deadline, and store photos, receipts, and ownership notes in one place. Record who removed or kept shared items so property disagreements do not become rental deductions.
How long should I keep move-out records?
Keep the inventory until the security deposit is returned and any deduction period or dispute is closed. If there is a disagreement, keep the files until the matter is fully resolved.
A clean rental handoff starts with a record you can trust. Vorby gives renters one organized place to track belongings, receipts, rooms, and move-out proof, so the final week is documented before the keys leave your hand.