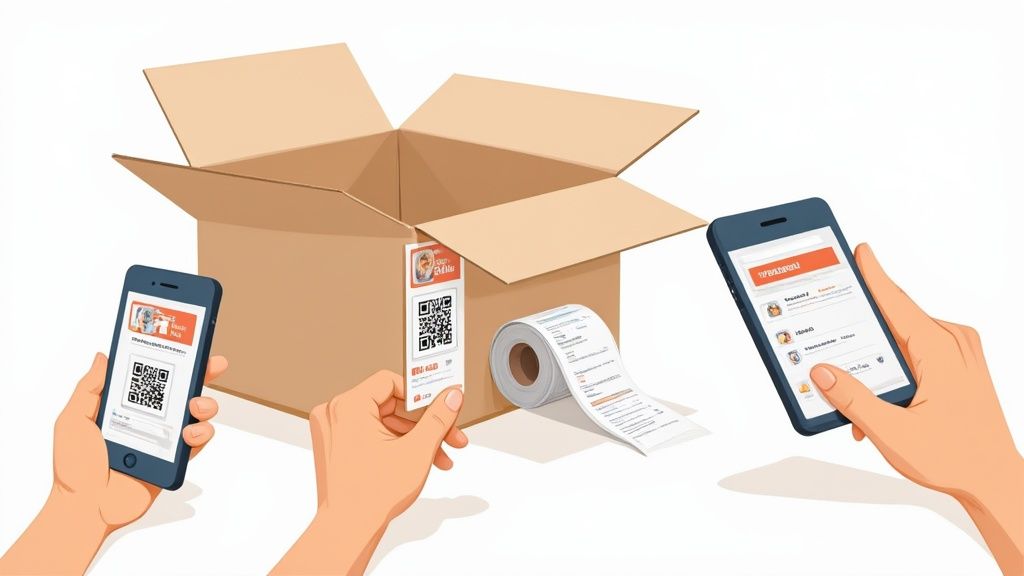
A tagging system is pretty straightforward: you stick physical tags, like QR codes, on your stuff and storage containers. Those tags link to a digital record on your phone. Scan a tag, and you instantly see what's in a box, find a specific item, or pull up its warranty info. It's how you bring the power of a digital search to your physical world.
Beyond Junk Drawers: The Case for an Inventory System
Let’s be honest. We’ve all wasted way too much time hunting for that one thing we know we have somewhere. That frantic search for the holiday decorations, the spare HDMI cable, or the user manual for the coffee maker is a universal frustration. It’s the kind of small, recurring stress that just chips away at your time and patience. A tagging system is the practical fix that goes way beyond generic organizing advice.
This isn't just about tidying up; it's about creating a smart, searchable map of your belongings. Imagine scanning a QR code on a storage bin in the attic and instantly seeing a list of everything inside, complete with photos. No more ripping open a dozen dusty boxes just to find one specific item. This small effort upfront pays off big time down the road.
Why a Tagging System Is Actually Worth It
Sure, a home inventory system saves you from the frustrating search, but its value goes much deeper. It stops you from buying duplicate items because you can check if you already own something in about five seconds. Think of the money saved by not purchasing a third set of fairy lights or another network cable you already had tucked away. To get a real sense of the possibilities, check out these amazing uses for name labels at home, which show just how practical this can get.
On a more serious note, a well-documented inventory is an absolute necessity for insurance. If you ever have to deal with theft, fire, or damage, having a detailed list with photos and purchase dates can make your claim process dramatically simpler and faster.
A Proven Concept, Adapted for Your Home
The core idea of tagging isn't new; it has a long and successful history in warehouses and retail. Barcode tagging systems completely changed professional inventory management back in the 1970s. In fact, studies from the 90s showed that businesses using these systems saw a 30-50% reduction in inventory mistakes.
The real power of a personal tagging system is its ability to turn chaotic storage into a structured, easily accessible database. It's about giving yourself the ability to find anything you own in seconds, not minutes or hours.
This guide will walk you through building that exact system for your own home, step by step.
Choosing Your Tech: QR Codes, NFC, or RFID?
Picking the right technology is the first, and most important, decision you'll make when setting up a home inventory system. This choice dictates how you’ll interact with your items, how much it will cost, and honestly, how likely you are to stick with it. We’re going to break down the three main players for home use: QR codes, Near Field Communication (NFC) tags, and Radio-Frequency Identification (RFID) tags.
Forget the dense technical specs. Let's focus on what actually matters for a project like this: cost, ease of use with your smartphone, and practical, real-world applications.
This little decision tree can help you see if a tagging system is even the right move for you in the first place.
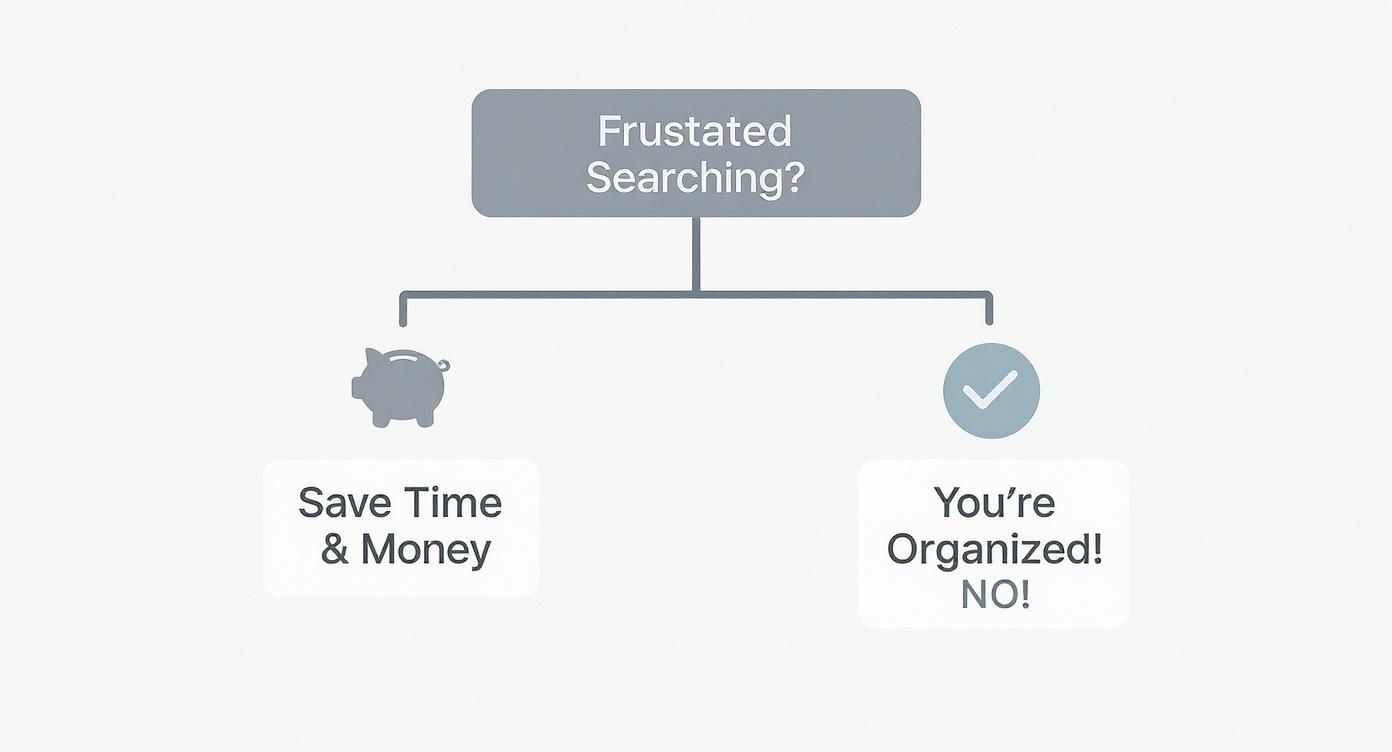
As you can see, the whole point is to save time and kill the frustration of hunting for things, which ultimately leads to better organization and even saving a little money.
QR Codes: The Accessible Workhorse
For the vast majority of home inventory projects, QR codes are the perfect place to start. They're incredibly versatile and, best of all, essentially free to create. You can generate them online in seconds, print them on standard sticker paper, and you're off to the races.
The beauty of QR codes is their universal accessibility. Every modern smartphone already has a QR reader built right into its camera app, which means no special hardware is needed. Anyone in your household can walk up, scan a code, and see what's inside a box.
Here’s where QR codes really shine:
- Garage Storage Bins: Slap a big, clear QR code on the outside of each opaque bin. A quick scan reveals a detailed list of what's inside, from camping gear to holiday decorations, without you ever having to pull it down and open the lid.
- Document Boxes: Labeling those bankers' boxes full of paperwork becomes a breeze. A scan can bring up a simple list like "Tax Docs 2020-2022" or "Old Family Photos," saving you from digging through endless files.
- The Dreaded Cable Box: We all have one. For that tangled mess of cords, you can tag individual Ziploc bags within the box. Scan the code on a small bag to instantly confirm it holds the "GoPro charging cables" you’ve been looking for.
NFC Tags: The Convenient Tap-and-Go Option
NFC tags offer a slightly sleeker, more modern experience. Instead of opening your camera and framing a code, you just tap your phone near the tag. That "tap-and-go" convenience is their main selling point.
While they do cost a bit more than simple QR stickers (usually less than a dollar per tag), they’re perfect for items or containers you access frequently. Most modern Android and iOS devices support NFC, making setup pretty straightforward with a dedicated app.
NFC is a great fit for these situations:
- File Cabinets: Place an NFC sticker on each drawer. A quick tap can pull up a list of the files inside, making it a slick way to manage important household documents without even opening the drawer.
- Toolbox or Craft Drawers: Tagging a specific toolbox drawer with an NFC chip can bring up an inventory list, ensuring you have the right tool before you even start pulling things out.
- Spice Racks: This one is a bit of a novelty, but an NFC tag on a spice jar could link directly to your favorite recipes using that specific spice. It’s a fun little kitchen upgrade.
RFID Tags: Powerful but Impractical for Home Use
You've probably encountered RFID in commercial settings, like retail stores tracking inventory or warehouses managing stock. The technology is incredibly powerful; it allows you to scan multiple tags at once, from a distance, without even needing a direct line of sight.
The problem? For home use, RFID is almost always overkill. The main barriers are cost and complexity. The tags themselves are more expensive, but more importantly, your smartphone can’t read them. You need to buy a specialized, and often pricey, RFID reader.
Unless you have a very specific, high-volume collection (think a wine cellar with hundreds of bottles you need to inventory simultaneously), the investment in hardware and tags just doesn't make sense compared to the simplicity of QR or NFC.
Before diving in, it's also helpful to understand what an asset tag is and how it functions, as the core principles apply no matter which tech you choose.
To make the choice easier, here's a side-by-side look at how these three technologies stack up for a typical home inventory project.
Comparison of Home Inventory Tagging Technologies
This table breaks down the key differences between QR codes, NFC tags, and RFID tags to help you decide which one is the best fit for your needs.
| Feature | QR Codes | NFC Tags | RFID Tags |
|---|---|---|---|
| Cost | Virtually free (cost of paper/ink) | Low (typically $0.25 - $1.00 per tag) | Moderate to High (tags + expensive reader required) |
| Reader Required | Smartphone camera (built-in) | Smartphone (most modern models) | Specialized RFID reader (costly) |
| Ease of Use | Very easy; point and scan | Easiest; just tap phone to tag | Complex; requires dedicated hardware and setup |
| Scan Range | Close range (inches to a few feet) | Very close range (< 4 cm) | Short to long range (up to 30+ feet) |
| Line of Sight | Required | Not required, but needs proximity | Not required; can scan through boxes |
| Multiple Scans | No; one at a time | No; one at a time | Yes; can scan hundreds of tags at once |
| Best For | General storage, boxes, documents, cables | Frequently accessed items, drawers, toolboxes | Large collections, commercial use (not recommended) |
Ultimately, for most people, the decision is simple. Start with QR codes. They are the most practical, cost-effective, and universally accessible solution for getting a home inventory system off the ground. Once you get the hang of it, you can always introduce NFC tags for specific high-traffic items where the "tap" convenience adds real value.
Designing Your Inventory Blueprint
https://www.youtube.com/embed/v39z0JPeIc8
Before you print a single label or buy your first NFC tag, you need a plan. Seriously, don't skip this part. Jumping straight into tagging without a clear structure is like trying to build a library without the Dewey Decimal System; you'll have a collection of stuff, but absolutely no logical way to find anything.
This initial planning phase is where you create your inventory blueprint. Think of it as your taxonomy, a simple, logical way of organizing everything you own. A solid blueprint ensures your system stays intuitive and actually useful as your collection grows. Without it, you’re just creating a digital junk drawer that’s as chaotic as the physical one you’re trying to fix.
Start with Broad Categories
The best way to begin is by thinking big. Just walk through your home and identify the primary zones where things are stored. These will become your top-level categories. The key here is not to overcomplicate it. Keep it simple and intuitive.
Your list might look something like this:
- GAR (Garage)
- KIT (Kitchen)
- OFC (Office)
- BMT (Basement)
- ATC (Attic)
- CLO (Closets, which you could break down further, like Master Closet or Hall Closet)
Using three-letter codes is a pro-tip that keeps your naming convention short and clean, which is a lifesaver on smaller labels. It establishes a consistent foundation for everything that comes next.
Drill Down into Subcategories and Containers
Once you have your main zones mapped out, it's time to get more specific. Within each zone, what are the subcategories? In the Garage (GAR), you might have things like Camping Gear, Automotive Supplies, or Holiday Decorations.
From there, you identify the actual physical containers, the storage bins, boxes, shelves, or drawers you'll be tagging. This creates a clear hierarchy that’s easy to follow, both in the real world and in your digital inventory.
Let’s walk through a practical example for a random bin in the garage:
- Top-Level Category:
GAR(Garage) - Subcategory:
CAMP(Camping Gear) - Container Type:
BIN(Storage Bin) - Unique Identifier:
04(The fourth bin in that category)
Put it all together, and the unique ID for this container becomes GAR-CAMP-BIN-04. That name tells you exactly what and where it is at a glance. When you get to the physical tagging stage, having the right hardware, like dedicated label printer machines, is crucial for creating durable, legible tags that will last.
Establish Consistent Naming Rules
Consistency is the secret sauce to a tagging system that doesn't fall apart in six months. A set of simple, unbreakable rules will prevent confusion down the road and make your entire system much easier to search.
The whole point of a naming convention is to make your system predictable. When you see a tag ID like 'OFC-ELEC-BOX-01', you should instantly know it refers to the first box of electronics in the office, even without scanning it.
Here are a few essential rules to live by:
- Use Leading Zeros: Always use leading zeros for numbers (e.g.,
01,02,09instead of1,2,9). This is a non-negotiable. It ensures your items sort correctly in digital lists, preventing10from appearing before2. - Stick to a Separator: Pick one character to separate the parts of your ID, a hyphen (
-) is perfect, and use it every single time. Don't mix hyphens, underscores, and spaces. - Be Consistent with Abbreviations: Decide on your abbreviations (
ELECfor Electronics,DOCSfor Documents) and stick to them. It’s a good idea to keep a simple key or legend in your inventory file if you think you might forget.
These small details make a massive difference in the long-term usability of your system. They are the grammar rules of your inventory language. If you want to get a bit more technical, understanding the basics of using a barcode for inventory management can offer some valuable insights that apply to any tagging method. It really drives home why a structured naming convention is so critical for any scannable system.
Putting Your Tagging System into Action
Alright, you’ve got your plan and your naming convention is locked in. Now comes the fun part: making it real. This is where your digital blueprint meets the physical world, turning all that planning into a tangible, scannable system. We’re moving from theory to the hands-on work of creating tags, sticking them on your stuff, and building a workflow that actually works.
Don't get overwhelmed. The key is to tackle this methodically, one area at a time. Start with a single box or one closet. Each small win builds momentum, turning what feels like a massive project into a series of satisfying tasks.
Creating and Printing Your Tags
You don't need fancy software to get this done. Generating QR codes, in particular, is surprisingly easy and totally free. Dozens of websites and apps let you create custom codes in just a few seconds.
Here's the quick rundown for QR codes:
- Find a Generator: Just search for a free online QR code generator. For a home inventory, you want one that creates a code from simple text.
- Plug in Your ID: This is where your naming convention comes in. Copy one of your unique container IDs (like
GAR-CAMP-BIN-04) and paste it into the generator. - Download and Print: The site will give you an image file (usually a PNG or JPG). You can collect a bunch of these, arrange them on a single page in a Word or Google Doc, and print them out on adhesive label sheets.
NFC tags are a bit different. You’ll need to "write" the data to each tag using your phone. An app like NFC Tools (available for both iOS and Android) makes this simple. Just open the app, type in the container ID, and tap your phone against a blank NFC tag. The data is instantly written to the chip.
Best Practices for Applying Your Tags
Where you stick the tag is just as important as what's on it. A tag that’s hard to scan, gets damaged, or is hidden from view is completely useless. Thinking this through now will save you a ton of headaches later.
A few pro tips I've learned the hard way:
- Go for the Side, Not the Lid: Seriously, this is the golden rule. Always place your tag on at least one side of a storage bin. Lids get swapped or lost, and when you stack bins, a tag on the lid is totally invisible. A side tag is almost always scannable.
- Protect Against the Elements: If you’re tagging items for the garage, basement, or attic, don't use standard paper labels. They'll peel, fade, or turn to mush. Spring for weatherproof vinyl or polyester labels. They cost a little more but will actually survive the humidity and temperature swings.
- Be Consistent: Pick a spot and stick with it. Maybe it’s always the top-right corner of the front-facing side. When you know exactly where to look for a tag, you can move through your inventory much faster.
The real test of a good tagging system isn’t just how it’s organized digitally, but how seamlessly it works in the physical world. Smart tag placement is the bridge between your spreadsheet and your storage shelf.
A Simple Scanning and Logging Workflow
With your tags printed and ready, it's time to log everything. The core loop of your inventory process needs to be dead simple, otherwise you won't stick with it.
First, you need a central hub for your data. This could be a straightforward Google Sheet or a dedicated inventory app. We can borrow principles from the pros here. By 2020, over 70% of medium and large enterprises in North America and Europe had adopted digital inventory tagging. This shift gave them real-time visibility that cut stockouts by up to 40%, proof that a solid digital system works.
Here’s your repeatable three-step workflow:
- Tag the Container: Stick your pre-printed QR code or newly written NFC tag onto the box or bin.
- Scan and Create a Record: Use your phone to scan the tag, which will bring up the unique ID. In your app or spreadsheet, create a new row or entry with this ID.
- Capture the Details: This is where the magic happens. At a minimum, list the contents. To really level up, add photos of the items, jot down purchase dates, attach warranty info, or even link to online product manuals.
That’s it. By repeating this simple process, you can methodically work your way through your entire home without getting bogged down.
If you're curious about the high-tech methods used in commercial settings that inspire these home systems, check out our guide on RFID for tracking assets. It dives into some of the powerful technologies that are becoming more accessible every day.
Keeping Your System Accurate and Useful

Look, setting up a home inventory system is a fantastic start, but the real magic happens when you keep it alive. An out-of-date system is just a digital graveyard of things you used to own. To make this whole project worthwhile, you have to build a few simple, sustainable habits that keep your inventory accurate for the long haul.
The secret isn’t adding another massive chore to your to-do list. It's about integrating tiny, quick actions into your daily routines, making maintenance so easy it becomes second nature. This is what transforms a one-time project into a genuine, long-term asset for your home.
Building Simple Maintenance Habits
The absolute best way to keep your system current is to process items as they come and go. Stop the clutter before it even has a chance to pile up.
I highly recommend creating a small intake station. This sounds fancy, but it can be a corner of your entryway, a specific shelf in your office, or even just a designated spot on the kitchen counter. When you bring new purchases home, they land here first. Before putting them away, you take two minutes, literally, to add them to your inventory and slap on a tag. Done.
The same logic applies when things leave your home. Whether you sell something on Facebook Marketplace, donate a bag of clothes, or just toss a broken gadget, pull out your phone. Give the tag one last scan and update its status in your system to "Sold" or "Donated." This simple action prevents "ghost items" from cluttering up your digital records.
Advanced Tips to Maximize Your System
Once you've got the basic workflow down, you can start unlocking some seriously powerful features. These are the strategies that elevate your system from a simple list of stuff to a dynamic home management hub.
- Share Household Access: For families or roommates, a shared inventory is a total game-changer. Using a tool like Google Sheets or a dedicated app with multi-user support lets everyone find shared items, like camping gear or the good toolbox, without asking. It finally puts an end to the endless "Hey, have you seen the...?" questions.
- Link to Digital Resources: Don't just log an item's name. In the notes field for your new dishwasher, drop in a link to its online product manual, the warranty registration page, or even a helpful YouTube tutorial on how to clean the filter. The next time it makes a weird noise, you can scan its tag and have the troubleshooting guide in your hand in seconds.
- Plan Home Maintenance: Your inventory can become a proactive maintenance calendar. For items like smoke detectors, furnace filters, or the water softener, add a "next service date" to their record. Once a month, you can do a quick sort of your list to see all the upkeep tasks on the horizon.
Troubleshooting Common Issues
Let's be real: no system is perfect. You're going to run into small hiccups. But if you know what to expect, they'll be minor fixes instead of major frustrations. By far, the most common problem you'll face is a damaged or lost tag.
A mangled tag shouldn't mean lost data. Your digital record is the source of truth; the physical tag is just the key that unlocks it. If a QR code gets torn or an NFC chip dies, the fix is incredibly simple.
Here’s the straightforward process for replacing a tag:
- Look Up the Item: Find the item in your digital inventory using the search function, not the broken tag.
- Generate a New Tag: Create a brand new QR code or write to a fresh NFC tag using the exact same unique ID as the original (e.g.,
BMT-TOOL-BIN-01). - Replace and Verify: Stick the new tag on the item and do a quick scan to make sure it pulls up the correct record.
This simple procedure ensures your data remains intact. The physical tag is disposable, but the information it points to is permanent, keeping your entire inventory system robust and resilient for years to come.
Common Questions About Home Inventory Tagging
Even with the best plan, you're bound to hit a few snags when you're setting up a new system from scratch. I get it. Let’s tackle some of the most common questions that pop up when people start designing a tagging system for their own homes. These quick, practical answers should clear things up and give you the confidence to dive in.
What Is the Best App for a Home Tagging System?
Honestly, there’s no single “best” app. The right tool depends entirely on what you need and how you want to interact with your stuff.
For a powerful, completely free, and flexible setup, you can't go wrong with a simple spreadsheet like Google Sheets paired with any free QR generator app. It's a DIY approach, which means you have total control over your data. But if you’d rather have a more polished experience with built-in scanning, photo galleries, and a slick interface, dedicated apps like Sortly or Itemtopia are popular for a reason.
My advice? Map out your must-haves first. Do you need shared access for your family? Barcode scanning for electronics? A way to track warranties? Once you have that list, take a few of the dedicated apps for a spin with their free trials. See which one feels right for you.
How Should I Tag Small or Awkward Items?
Trying to stick a tiny label on every screw, piece of jewelry, or individual Christmas ornament is a fast track to madness. It’s not practical. The secret is to think in terms of containers, not individual items.
The strategy here is container-level tagging. Just group those small items into an organizer box, a Ziploc bag, or even a designated drawer. Then, apply a single tag to the container itself. In your digital inventory for that tag, you can list all the contents, maybe even snap a quick photo. This gives you a fully searchable record without the headache of labeling dozens of tiny objects.
What about valuable items you don't want to stick a label on, like a piece of art or an antique? You've got a couple of good options. You can discreetly tag the back of the frame, or simply print its QR code on a small card and keep it with the insurance paperwork or certificate of authenticity.
This approach keeps your system clean, simple, and actually manageable.
Is It Worth Using NFC or RFID Instead of QR Codes?
For pretty much any home inventory project, QR codes hit the sweet spot of cost, simplicity, and effectiveness. They cost absolutely nothing to generate, and every modern smartphone has a reader built into the camera app. That makes them universally accessible to anyone in your household, with no extra hardware or apps required.
NFC tags are a cool upgrade for very specific, high-traffic uses. For instance, putting an NFC tag on a toolbox you open daily lets you just tap your phone to see its contents. That’s undeniably convenient, but that convenience comes at a slightly higher cost per tag.
RFID, on the other hand, is almost always overkill for home use. The tech requires specialized, often expensive readers that your phone can’t operate. While it’s incredibly powerful for commercial warehouses, the high cost and complexity just don’t make sense unless you have a very specific need, like tracking hundreds of high-value items all at once.
How Much Time Will This Project Actually Take?
Let's be real: the initial setup is the most time-consuming part. That’s why it’s so important that you do not try to inventory your entire home at once. That's a surefire recipe for burnout.
The only way to win is to break the project into smaller, more manageable chunks. Tackle it one room, or even just one closet, at a time. A small, already organized room might only take a couple of hours. A cluttered garage, however, could easily eat up a full weekend.
The key is steady, consistent progress. Once the system is in place, the ongoing maintenance is minimal. It’s just a few minutes to tag a new purchase when you get it home or update a record when you get rid of something.
Ready to stop searching and start finding? Vorby uses smart AI and an intuitive interface to help you build the ultimate home inventory. Catalog items with photos, automatically parse receipts, and use QR codes to see what's in any box with a quick scan. Get organized and take control of your space. Start your free trial at Vorby.com.