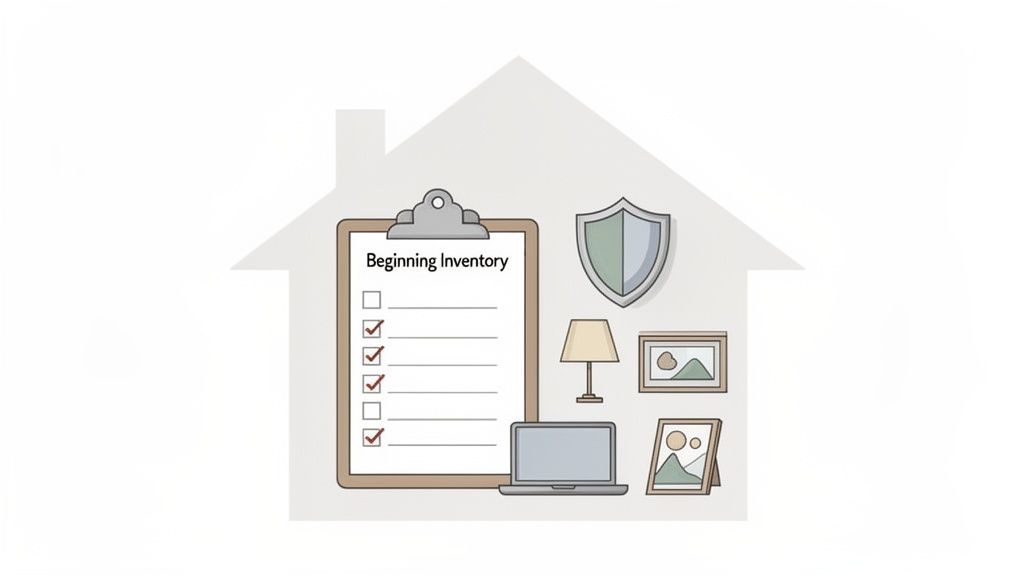
Getting your beginning inventory is the crucial first step to understanding exactly what you own. It’s more than just a list; it’s a detailed, valued snapshot of all your personal belongings at a specific point in time.
Think of it as the starting line for your home's financial story. This baseline becomes your go-to resource for insurance, financial planning, and just plain old organization.
Why Your Beginning Inventory Is a Financial Safety Net
Most people only think about a home inventory after something goes wrong. But its real power is in having it ready before disaster strikes. This initial list, your beginning inventory, isn't just a record. It's a powerful tool that delivers financial clarity and genuine peace of mind.
Imagine a pipe bursts in your apartment, soaking your electronics, ruining your furniture, and damaging irreplaceable keepsakes. Without a detailed inventory, you're left scrambling to remember what you lost and what it was worth. This guessing game often leads to a long, frustrating insurance claim process and, frankly, a smaller payout.
With a beginning inventory, you have concrete proof of ownership and value, right at your fingertips.
Real-World Scenarios Where It Matters
This isn’t just about worst-case scenarios. A solid beginning inventory serves you in plenty of everyday situations.
- Moving to a New Home: An inventory is your best defense against lost or damaged items. It ensures nothing gets left behind and provides a clear record if movers break something.
- Understanding Net Worth: Your belongings are assets. Cataloging them gives you a much more accurate picture of your overall financial health.
- Managing Collections: If you collect antiques, art, or even rare sneakers, an inventory is non-negotiable for tracking value and managing proper insurance coverage.
- Sharing Living Spaces: For roommates, an inventory clearly defines who owns what, preventing disputes over shared items when it's time to move out.
A beginning inventory transforms a vague sense of "all my stuff" into a tangible, actionable financial asset. It’s the foundation that makes insurance claims smoother, financial planning smarter, and daily organization simpler.
Establishing a baseline of what you own is more than just good practice; it's a vital part of modern financial management. This table breaks down why it's so beneficial.
| Benefit | Why It Matters | Best For |
|---|---|---|
| Streamlined Insurance Claims | Provides undeniable proof of ownership and value, speeding up the claims process and maximizing your payout. | Homeowners, renters, and anyone living in disaster-prone areas. |
| Accurate Financial Planning | Gives you a true picture of your net worth by including the value of your personal property assets. | Individuals tracking their financial health or planning for retirement. |
| Simplified Estate Planning | Creates a clear record of assets, making it easier to designate heirlooms and divide property among beneficiaries. | Anyone preparing a will or trust. |
| Stress-Free Moving | Acts as a master checklist to ensure all items arrive safely and provides proof if movers lose or damage anything. | People relocating to a new home, especially long-distance moves. |
Ultimately, having this documented baseline protects your investments, simplifies major life events, and gives you a solid foundation for financial security.
The need for this kind of clarity is driving huge growth in organizational tools. The home inventory apps market, for example, reached USD 1.2 billion in 2023 and is projected to soar to USD 4.8 billion by 2032, fueled by a rising awareness of asset management.
From Simple Task to Empowerment
Knowing how to get beginning inventory is about taking control. It simplifies tracking warranties, managing valuable collections, and creating clarity in a shared household. For a deeper dive, check out our guide on creating a home inventory for insurance.
This process transforms a simple task into an act of empowerment, giving you a definitive record of your assets and a solid foundation for protecting them.
Your Game Plan for a Successful First Inventory
Let’s be honest: a successful home inventory doesn’t start with grabbing a clipboard and randomly pointing at stuff. It begins with a clear, deliberate plan. Without a strategy, the whole task can quickly feel chaotic and overwhelming, which is exactly why so many people give up before they even start.
The key is to reframe this from one massive project into a series of small, manageable wins. This approach isn't just about making the process feel less intimidating; it’s about ensuring you get an accurate and complete picture of what you own. Think of it as creating a map before a long road trip. It guarantees you know where you're going and how to get there without getting lost.
Divide Your Home into Zones
The single most effective way to tackle your inventory is to break your home down into smaller, defined areas. Zones. This simple strategy prevents the mental fatigue that comes from staring at your entire home as one giant to-do list. Instead of seeing an endless sea of possessions, you’re just focused on one room, or even one part of a room.
Here’s a simple way to create your zones:
- By Room: This is the most obvious and common method. List every single room: living room, kitchen, bedrooms, bathrooms, and so on.
- By Area: Don't forget the spaces that are easy to overlook. The garage, attic, basement, closets, and even outdoor sheds should each be their own distinct zone.
- Sub-Zones: For larger or more cluttered rooms, like a home office or a packed garage, it can help to break it down even further. For instance, your desk area could be one sub-zone, and the bookshelves another.
This simple act of zoning instantly creates a clear checklist. As you complete each zone, you build momentum and a sense of accomplishment, which is the fuel you'll need to see this project through to the end.
Gather Your Essential Tools
Before you start counting a single thing, get your tools together. Having everything on hand from the very beginning means you won't have to interrupt your flow to go hunting for something.
Your toolkit can be surprisingly simple:
- Your Smartphone: This is your command center. It's what you'll use for taking photos and videos, which serve as crucial visual proof for any potential insurance claim.
- A Notebook and Pen: Sometimes, old school is best. It’s perfect for jotting down quick notes, reminders, or questions you want to look up later (e.g., "find the model number for the Samsung TV").
- Receipts and Documents: Start a pile for any existing physical or digital receipts, warranties, or appraisals you have for valuable items. You don't need to organize them just yet, just get them all in one accessible spot.
A great pro-tip is to start with a small, contained area like a single hall closet or the laundry room. Completing your first zone in under 30 minutes proves to yourself that the entire project is doable and gives you the motivation to keep going.
With your zones mapped out and your tools ready, you have a solid foundation. This preparation phase is the most important part of getting your beginning inventory right. For more guidance on how to structure your list as you go, you might find our article on creating a home inventory list template really helpful.
Choosing the Right Way to Tally Your Stuff
Okay, you've got your game plan. Now comes the real work: actually counting everything. How you collect this data is the next big decision, and honestly, there’s no single "best" way. The right choice really boils down to your personality, what you're trying to achieve, and the kind of stuff you own. It's all about finding a workflow that you'll actually stick with.
Some people get a weird satisfaction from the methodical, hands-on process of a physical count. Others would rather use every digital shortcut available to get it done faster. Let's walk through the most common techniques, breaking down the good and the bad of each so you can figure out what works for you.
This simple decision tree can help you visualize the process. Map out your zones, pick your tools, and just get started.
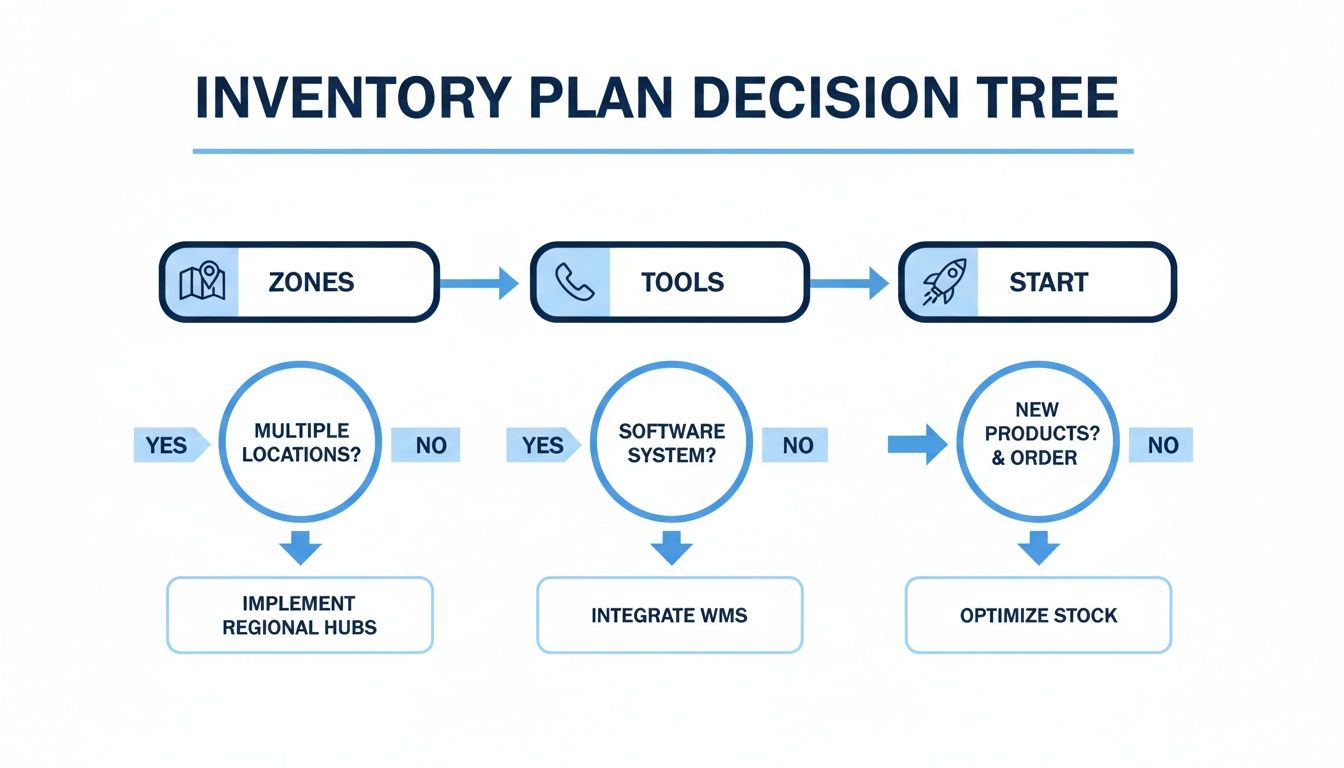
As the flowchart shows, a good inventory isn't about one giant leap. It’s about breaking a huge task into small, manageable steps.
The Classic Physical Count
This is the old-school way: a clipboard and pen, or maybe a basic spreadsheet. You literally walk through each room, zone by zone, and write down every single item, its condition, and any other detail you want to capture.
- The upside? It’s incredibly thorough. You're forced to physically touch and acknowledge everything, which makes it almost impossible to forget that old lamp tucked away in the back of the hall closet.
- The downside? It is, by far, the most time-consuming approach. You're also left without an easily searchable digital record or visual proof unless you're taking photos on the side.
The Modern Visual Approach
Your smartphone is your best friend here. Taking photos is a fast and surprisingly effective way to create a visual log of everything you own. You can snap pics of individual items, get wide shots of entire rooms, or even record a slow video walkthrough while you narrate what you’re seeing.
For this method to be solid enough for an insurance claim, you have to capture the important details. Get close-up shots of serial numbers on your electronics, the artist's signature on a painting, or the brand label on your couch.
This creates undeniable proof of ownership and condition. The main drawback is that you still have to go back and manually list or transcribe everything to create a searchable, organized document.
The Financial Trail Method
This technique is all about following the money. You’ll dig through your digital and paper records, scouring your email for online order confirmations or combing through bank and credit card statements to build a list of your purchases.
When you’re pulling together financial data, it’s always smart to think about secure data acquisition to keep your personal information safe.
This is a fantastic starting point, especially for newer items, but it has its limits. It won’t capture gifts, family heirlooms, or that antique desk you bought with cash ten years ago. It also completely lacks the visual proof that photos provide.
Ultimately, the best strategy is usually a hybrid of all three. You might use receipts to quickly log all your recent tech purchases, then take detailed photos of your big-ticket furniture and sentimental valuables. By combining methods, you build a much more complete and genuinely useful inventory. You can learn more by checking out our inventory software comparison to see how different tools can help you pull it all together.
Using Smart Tools to Speed Up Your Inventory
Let’s be honest, the thought of manually counting every single thing you own and typing it into a spreadsheet is enough to make anyone procrastinate. It feels like a monumental, soul-crushing chore.
Thankfully, you don't have to do it that way. Smart tools can turn what used to be a weekend-long project into a few hours of focused, almost enjoyable, activity.
Instead of painfully keying in every last detail, modern software does the heavy lifting for you. This isn't just about saving time; it's about creating a dynamic, searchable, and genuinely useful record of your possessions. It’s the difference between a static list that's outdated the moment you finish it and a living database of your home.
The Magic of Image Recognition
One of the biggest leaps forward in home inventory is AI-powered image recognition. Seriously, this is where the magic happens.
Imagine snapping a photo of your desk, and an app instantly identifies your laptop, monitor, keyboard, and even the specific brand of your noise-canceling headphones. This isn't science fiction anymore; it’s a real tool that cuts out hours of tedious data entry.
For example, when you’re cataloging your home office, you can take one picture. The system might recognize a Dell XPS 15 laptop, a Logitech MX Master mouse, and a pair of Sony WH-1000XM5 headphones, then just ask you to confirm. Bam. Those items are instantly added to your inventory, often with product details already filled in. All you need to do is add the purchase date and what you paid.
This is a game-changer for big collections, too. A quick photo of a shelf full of books or a drawer of power tools can generate a working list in seconds, giving you a massive head start.
Let Receipt Parsing Do the Work for You
Another incredibly powerful feature is receipt parsing. Think about all those email receipts you get from Amazon, Best Buy, or Wayfair. Modern inventory services like Vorby can connect to your email (with your permission, of course) and automatically scan for them.
This feature quietly builds your inventory in the background without you having to do a thing. When it finds a receipt for that new TV you bought, it automatically pulls out the key info:
- Item Name: Samsung 65" Class QLED 4K TV
- Purchase Date: The transaction date from the email.
- Price Paid: The exact amount you were charged.
- Retailer: Where you bought it.
This is the easiest way to keep your inventory current with new purchases, ensuring your records stay accurate from day one.
Combining image recognition for your existing stuff with receipt parsing for new purchases creates a powerhouse system. This approach can slash the manual effort of building and maintaining a home inventory by an estimated 70-80% compared to doing it all by hand.
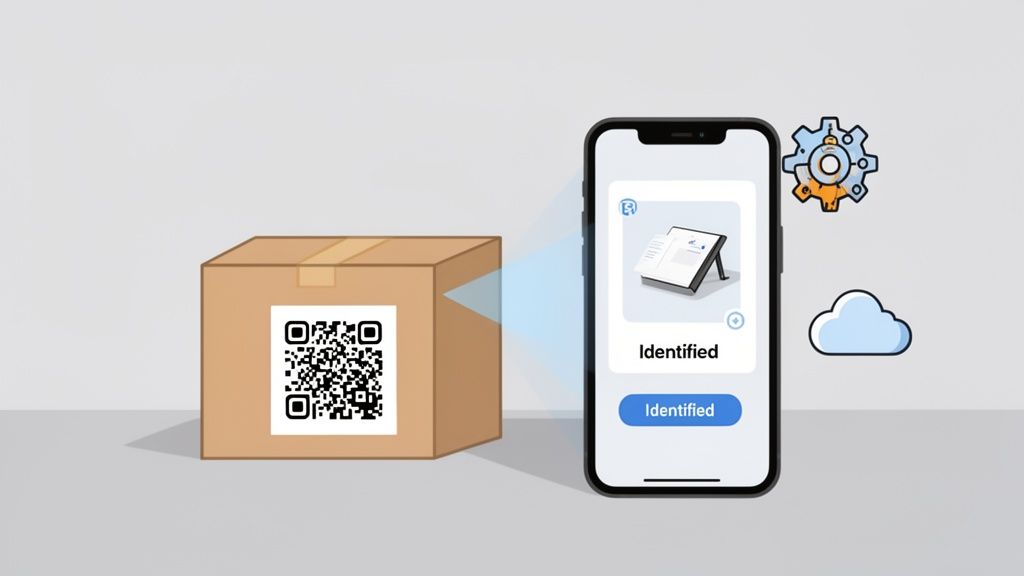
QR Codes and NFC Tags: Bridging the Physical and Digital
Smart tools also create a brilliant link between your digital list and your actual, physical items. Using QR codes or NFC tags to label storage bins and boxes is a perfect example.
Let's say you have a few of those big storage totes in the garage. Instead of a scrawled, illegible label, you can stick a QR code on each one. Later, when you need to find your holiday decorations, you just scan the code with your phone, and your inventory app instantly shows you a complete list of everything packed inside that specific box. No more digging through three different containers to find the tree stand.
NFC tags work in a similar way; just tap your phone to the tag. You could place one inside a kitchen cabinet, and a quick tap would pull up a list of the small appliances stored there, complete with their warranty info. It’s a simple, fast way to keep your physical space perfectly synced with your digital records.
Before you start, it helps to see just how much of a difference these tools can make. Here's a quick comparison of the old way versus the new way.
Manual vs AI-Powered Inventory Methods
| Task | Manual Method | AI-Assisted Method |
|---|---|---|
| Adding New Items | Manually type item name, brand, model, price, and date from memory or a paper receipt. | Snap a photo; AI identifies the item automatically. Or, connect email; AI parses receipts for you. |
| Finding an Item | Scroll through a long spreadsheet or search handwritten notes. Hope you used the right keyword. | Type "blender" or "Sony headphones" into a search bar. Or, scan a QR code on a box to see its contents. |
| Updating Records | Remember to open the file and add new purchases. Often forgotten, leading to an outdated list. | Mostly automatic. New purchases from major online retailers are added via receipt parsing. |
| Valuation | Guess the value or spend hours looking up current prices for insurance purposes. | Many tools can pull current market values or link directly to product pages with original pricing. |
| Time Investment | Days or even weeks of initial setup, plus consistent manual upkeep. | A few hours for the initial setup, with minimal ongoing effort. |
| Accuracy | Prone to typos, forgotten items, and inconsistent formatting. | High accuracy due to automated data entry and standardized categorization. Reduces human error. |
As you can see, leveraging a bit of technology doesn't just make the process faster, it makes the end result more accurate, useful, and far easier to maintain over the long haul.
Getting Your Beginning Inventory Organized and Finalized
Having a raw list of everything you own is a fantastic start, but its true power is unlocked when you organize it. A simple data dump isn't enough. Structuring that information turns a chaotic list into a useful, searchable database that actually works for you. This is the last leg of the journey, transforming that raw data into your definitive beginning inventory.
The goal here is to add context that makes your inventory truly valuable, whether that's for insurance preparedness, financial tracking, or just getting a handle on what you own.
Choosing Your Organizational Framework
How you categorize your items will make or break how easy it is to find information later. There’s no single right way to do this, so pick a method that clicks with how you think and what you need the inventory for.
- By Room: This is the most intuitive approach for most people. Grouping items by their physical location (Living Room, Kitchen, Garage) makes perfect sense for visual thinkers and is especially great for insurance claims.
- By Type: If you're a collector or have tons of similar items, categorizing by type (Electronics, Furniture, Jewelry, Tools) might be more effective. This lets you see the total value of specific asset classes at a single glance.
- By Owner: In a shared household or when you're thinking about estate planning, assigning items to a specific person clarifies ownership and simplifies big decisions down the road.
Getting this foundation right is critical, especially given the wild swings in today's housing market. According to Realtor.com's May 2025 Housing Market Trends Report, active home listings surged 31.5% year-over-year, marking 19 straight months of growth. You can read the full housing trends report on Realtor.com to see just how dynamic the market is.
Adding the Essential Details
With your structure in place, it's time to enrich the list with the details that matter. For every high-value item, make sure you include the purchase date, its current estimated value, and a digital copy of the warranty or receipt. These details are absolutely non-negotiable for any serious insurance claim.
This final, verified snapshot of your possessions is what accountants call your 'opening balance'. It's the definitive starting point from which all future changes, like new purchases or getting rid of old stuff, are tracked.
The principles of verification and documentation here are surprisingly similar to what professionals do for business assets. In fact, understanding the concepts behind formal IT inventory audits can give you a great framework for your own home.
Final Review and Secure Export
Before you call it done, give your compiled list one last look. Do a quick scan for any obvious gaps, typos, or missing values. A few minutes of review now can save you a massive headache later on.
Once you’re satisfied with the accuracy, export a secure copy. Save it to a cloud service like Google Drive or Dropbox, and maybe even email a copy to a trusted family member for safekeeping. Your beginning inventory is now complete and ready to act as your financial safety net.
Got Questions? We’ve Got Answers.
Even the best-laid plans run into real-world questions. When you're just starting to build your beginning inventory, it’s completely normal to wonder if you're doing it right. Getting these practical concerns sorted out is the key to creating a record that’s genuinely useful.
Let's tackle some of the most common questions that pop up.
How Detailed Does My Beginning Inventory Need to Be?
Honestly, the right level of detail comes down to your "why." What's your main goal?
If you're building an inventory for insurance purposes, you'll need to be more specific. Insurers want the nitty-gritty: clear descriptions, serial numbers (especially for electronics and appliances), a good guess at the purchase date, and the estimated value. Having this information on hand can turn a potential claims nightmare into a smooth, straightforward process.
On the other hand, if your main goal is simply to get organized and know where things are, a basic description and its location might be all you need. A great starting point is to capture just enough info to uniquely identify an item. You can always circle back later to add more detail, so don't get bogged down. Just focus on the essentials first, what it is and where it is, and build from there.
What’s the Best Way to Handle Items Without Receipts?
This is a classic problem, but a missing receipt doesn't have to be a dead end. For anything without a paper trail, a good photograph is your best friend.
Snap clear pictures from a few different angles. Make sure you capture any identifying marks, brand names, or unique features that prove it's yours. From there, you can estimate the purchase date and its value based on your memory or by doing a quick search for similar items online.
For high-value possessions like jewelry, art, or antiques, a professional appraisal is the gold standard. An appraiser's report provides authoritative documentation of an item's worth, which is invaluable for both insurance and estate planning.
Whenever you do estimate a value, just be sure to add a quick note in your inventory explaining how you came up with that number. It’s a small step that helps keep your own records clear.
How Often Should I Update My Home Inventory?
Once you’ve put in the work to establish your initial inventory, it's a good habit to schedule a full review at least once a year. This is a perfect time to spot any inaccuracies, make sure your values are still in the right ballpark, and remove things you no longer own.
But don't wait a full year to make changes.
The best approach is to treat your inventory like a living document. Get into the habit of adding significant new purchases right away, as soon as you bring them home. This is where using an app really shines. It's so much easier to spend two minutes adding a new laptop than it is to block out an entire weekend for a massive annual recount.
Think of it this way: your inventory isn't a one-and-done project; it's an ongoing resource that works for you.
Ready to stop guessing and start organizing? Vorby uses AI-powered tools to make creating and managing your home inventory effortless. From automatically identifying items in photos to parsing email receipts for new purchases, you can build a complete inventory in a fraction of the time.
Start your free trial today and see how easy it is to protect and manage what you own.