Vorby is built around items. An item is anything you want to remember owning: a tool, a serving platter, a router stashed in a closet. The fastest way to start is to snap a photo and let Vorby fill in the details.
The idea is the same everywhere, but the steps look a little different on the web app versus the iPhone app, so both are covered below.
Add from a photo on the web
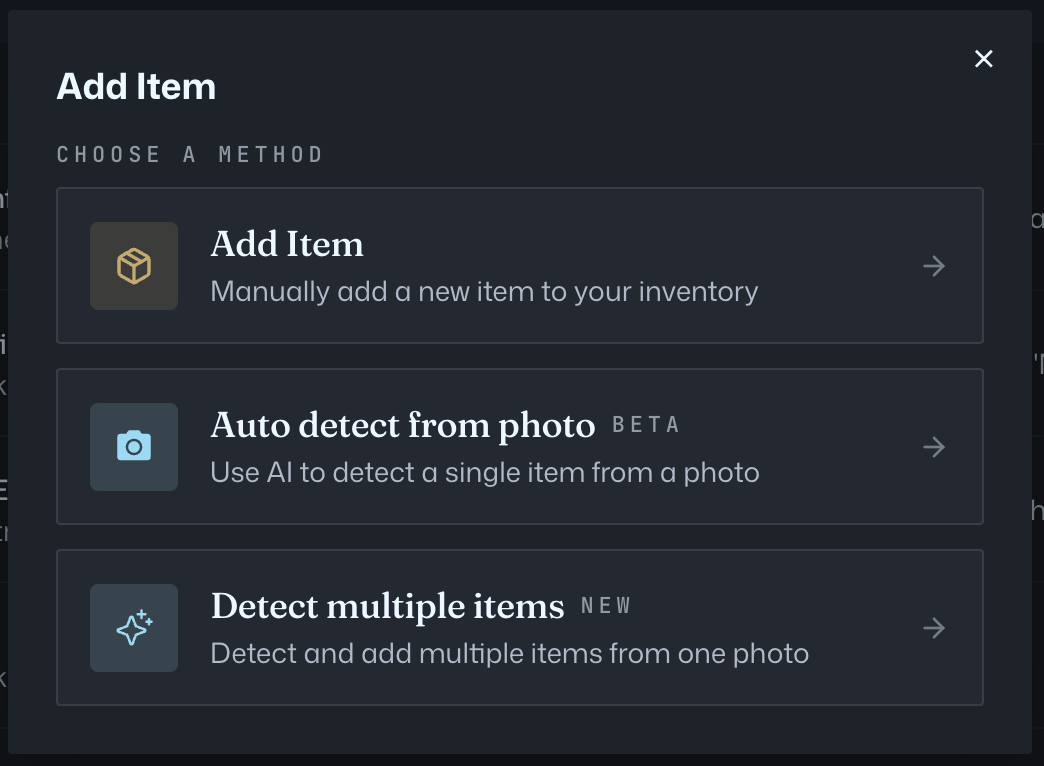
- Click the Add Item button at the top of the app to open the Add Item window.
- Choose Auto detect from photo.
- Upload a photo and, if you like, pick a room. Then click Analyze photo.
- Vorby's AI reads the picture and creates the item with a suggested name, category, and color.
- Open the new item to review the details and change anything that looks off.
Add from a photo on iPhone
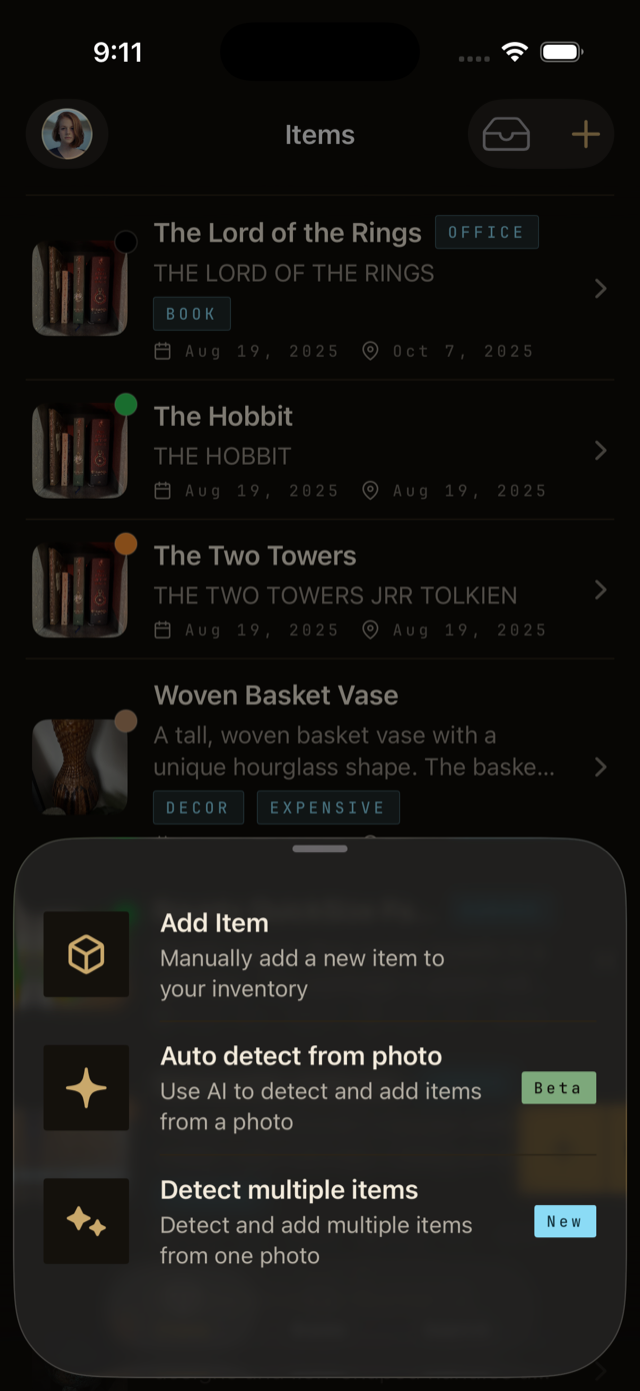
- From the home screen, tap the plus button in the bottom toolbar.
- Choose Take photo or Upload photo. Vorby's AI will look at the picture and suggest a name, category, and color.
- Review the suggestion. Edit anything that looks off, or tap Accept to keep it.
- Pick a room and (optionally) a location inside that room so you can find it later.
- Tap Save. Your item now lives in your inventory and is searchable.
Add an item manually
No photo yet? You can still create the item by hand. On the web, open the Add Item window and choose Manual, then type a name. On iPhone, tap the plus button and choose Add manually. Either way you can attach a photo and fill in the rest of the details later from the item page.
What to do next
- Set up rooms so items have a place to belong.
- Try multi-item detection when you want to capture a whole shelf at once.
- Invite a household member so the inventory is not just yours.